
Taking an Outdoor Ice Hockey Portrait
It’s winter. In Canada.
That means hockey.
I recently took advantage of a rather fine day recently to get an action shot out on the pond. Here’s a rundown of what went into getting this image.
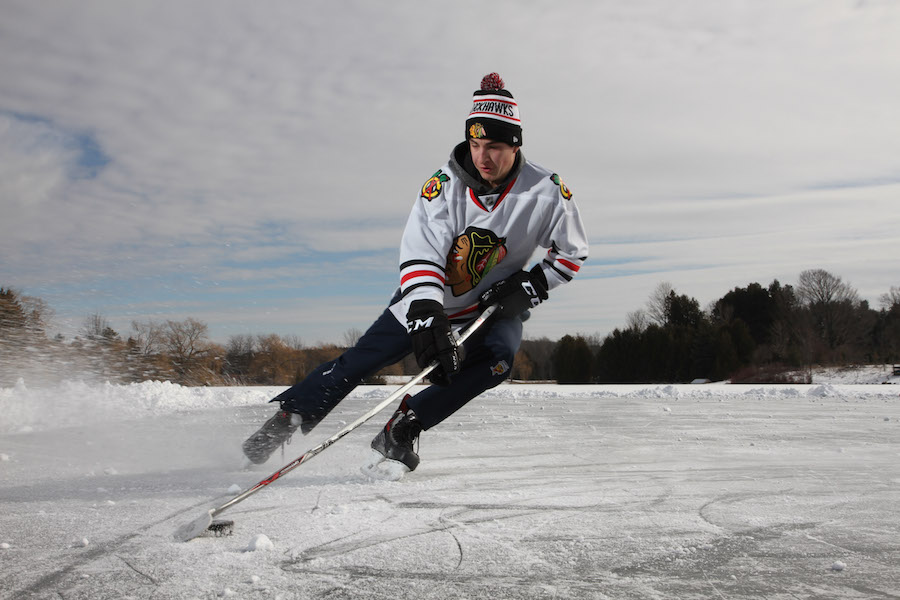
To start with, here’s the final shot so we know what we’re working towards:

Our settings:
1/250, ISO 100, f/13
The Setup
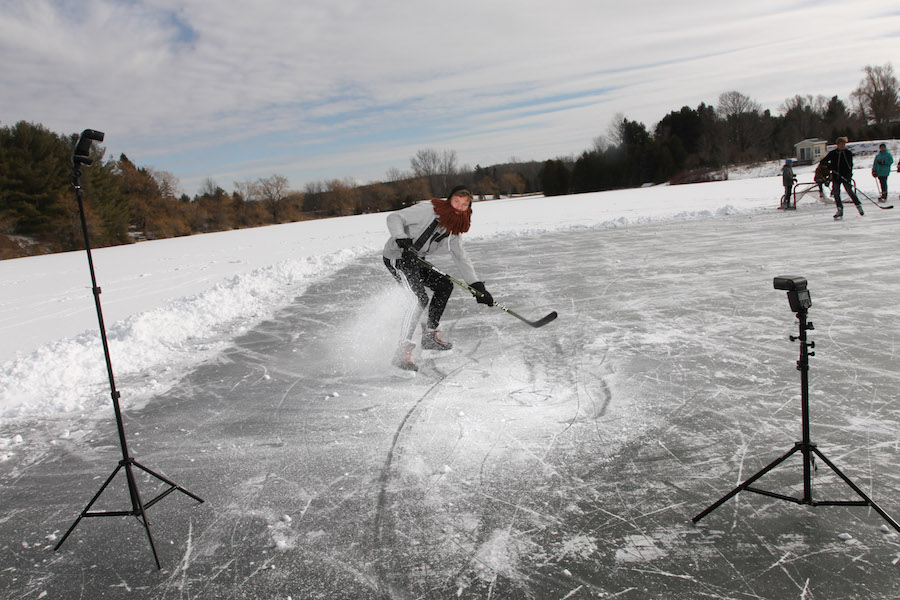
I wanted a picture showing action, featured subtle but effective lighting from off-camera flash.
The final image was lit by two flashes, coming from the front on either side. They are fired with no modifiers. This makes the light from them harsh, which better matches the ambient light at the time.
Mixing qualities of light can get a bit messy and unnatural sometimes. Generally, if the ambient light is soft (overcast day or shade), you would pair that with a soft, modified off-camera light as well. Out in the hard sun, a soft off-camera light will cause some unnatural light.
The human brain is finely tuned to recognize when things are off – even if we don’t realize at first what the problem is.
Here’s the behind the scenes shot:
The Settings
For this image, I’m outdoors and have a lot of light to work with.
In order to see the effects from my flashes, I’m going to want my camera’s exposure to be a bit below what the correct exposure would be if this was strictly a natural light image. This allows the light from my flash to emphasize and shape the elements of the picture they are aiming at.
Having a lot of light to work with usually something to complain about, but here it creates the problem I’m going to discuss in the next section.
Dealing with Flash Sync Speed
The most bothersome part of this setup is the limitation of the camera’s flash sync speed.
The sync speed is the maximum shutter speed you can use while still syncing your exposure with the output from your flash. Shoot higher than this and you’re flash won’t be recorded across the entire picture. If the flash is much stronger than the ambient light in a picture, you’ll see a dark bar across part of your image.
The max shutter sync speed varies from camera to camera, but will be in the vicinity of 1/200 to 1/250 for many DSLRs. For my Canon 7D, it is 1/250.
Ditching the Blur
So now I have a max shutter speed of 1/250 and skaters whizzing past me on the ice.
I don’t want a blurry image, but I still want to show action. This means that I want to find a moment when the skater will be relatively still.
My solution here was to have my subject skate hard into the frame, then stop sharply. Viola! I keep the sense of action in the picture, minus the blur.
A quick solution to this flash sync speed nonsense would be shoot using reflectors. There’s no max shutter sync speed on a reflector, giving you a lot more creative freedom. But then again, every form has its pros and cons.
The Rest of the Settings
With my shutter capped at 1/250 on a fairly bright day, I’m naturally going to set my ISO to 100. After this, the selected aperture simply falls into place to match the lighting I want.
Remember that the exposure without flash should be a touch dark, otherwise we won’t see any of the effects of the flashes.
For this shot, the aperture that fit best was f/13.
How your Camera Settings influence your flash power
The visible effects of a flash are influenced by your ISO and aperture. A higher ISO or a wider aperture will make your flash “more powerful”. This simply means that the camera records more of the light from the flash.
Shooting at ISO 100 and an aperture of f/13 really reduces the effective power of my flashes. So I have to compensate for this by shooting at nearly full power, despite the fact that my flashes are only a short distance away from the subject.
Here’s the shot right out of the camera:
The Edit
This picture didn’t require any massive edits. I did a simple crop to improve the composition. I pushed the ‘Shadows’ slider in lightroom up +30 to help bring out the dark areas and make the effects of the flash more visible.
Vibrance and the blue saturation channel got a boost to add some colour back to the sky.
Before exporting, I went to town on this image with adjustment brushes and graduated filters to balance out the photo. Features of the image that distracted away from the subject, such as the ice, got a gentle reduction in exposure. I also used adjustment brushes that specifically targeted the player to push up clarity without influencing the background.
And there you have it.

About the Author
Hi, my name is Frank Myrland and I’m a photographer based near Orangeville, Ontario. While I am active in most types of photography, I mostly enjoy sports, events, family and commercial photography.
I like to learn by doing — and also to share my own experiences for the benefit of others, whether they are just getting into photography or if they are well on their way to mastering their style and craft.
Feel free to reach out to me if you have any questions at all at [email protected]
The latest posts from the Photography Blog

Preparing for Your Family Photography Shoot: 6 Important Things to Consider
Preparing for Your Family Photography Shoot: 6 Important Things to Consider Planning a family photoshoot? This short guide will give a list of what to consider in advance to make sure to get the most out of the time and have confidence you’ll get some great pictures!…
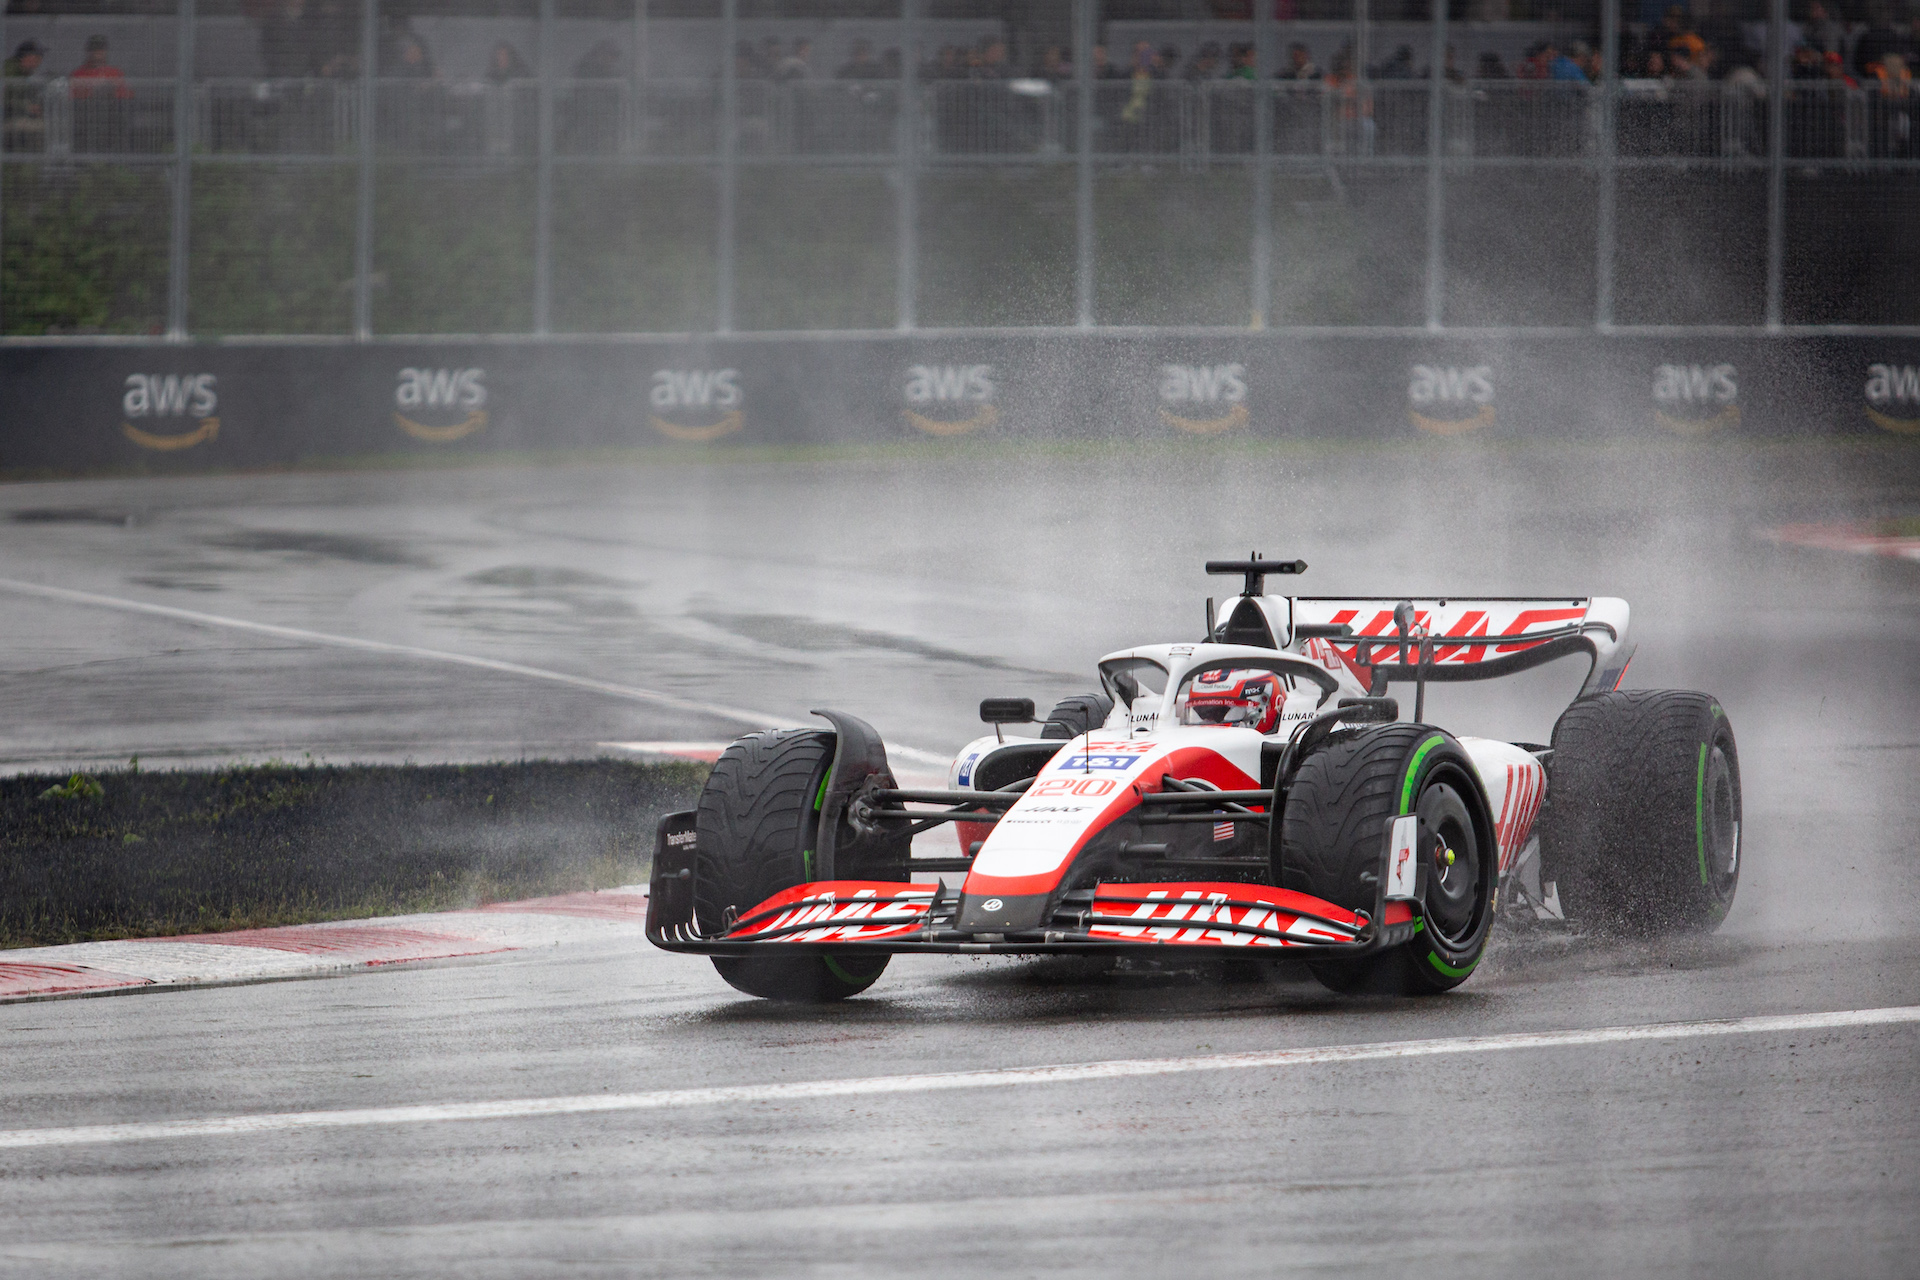
How to Take Photos from the Grandstands of the Canadian Formula One Grand Prix in Montreal
How to Take Photos from the Grandstands of the Canadian Formula One Grand Prix in Montreal While all sports are challenging to photograph in their own way, Formula One is an especially difficult event to capture for the casual photographer. This guide is a summary of…

The Top 5 Reasons to Book a Corporate Headshot Photoshoot for Yourself or Your Team
The Top 5 Reasons to Book a Corporate Headshot Photoshoot for Yourself or Your Team A professional, current headshot is a must in today’s digital-first society. For many lines of work, the difference between a good or a not-so-good headshot might be the dealbreaker in…
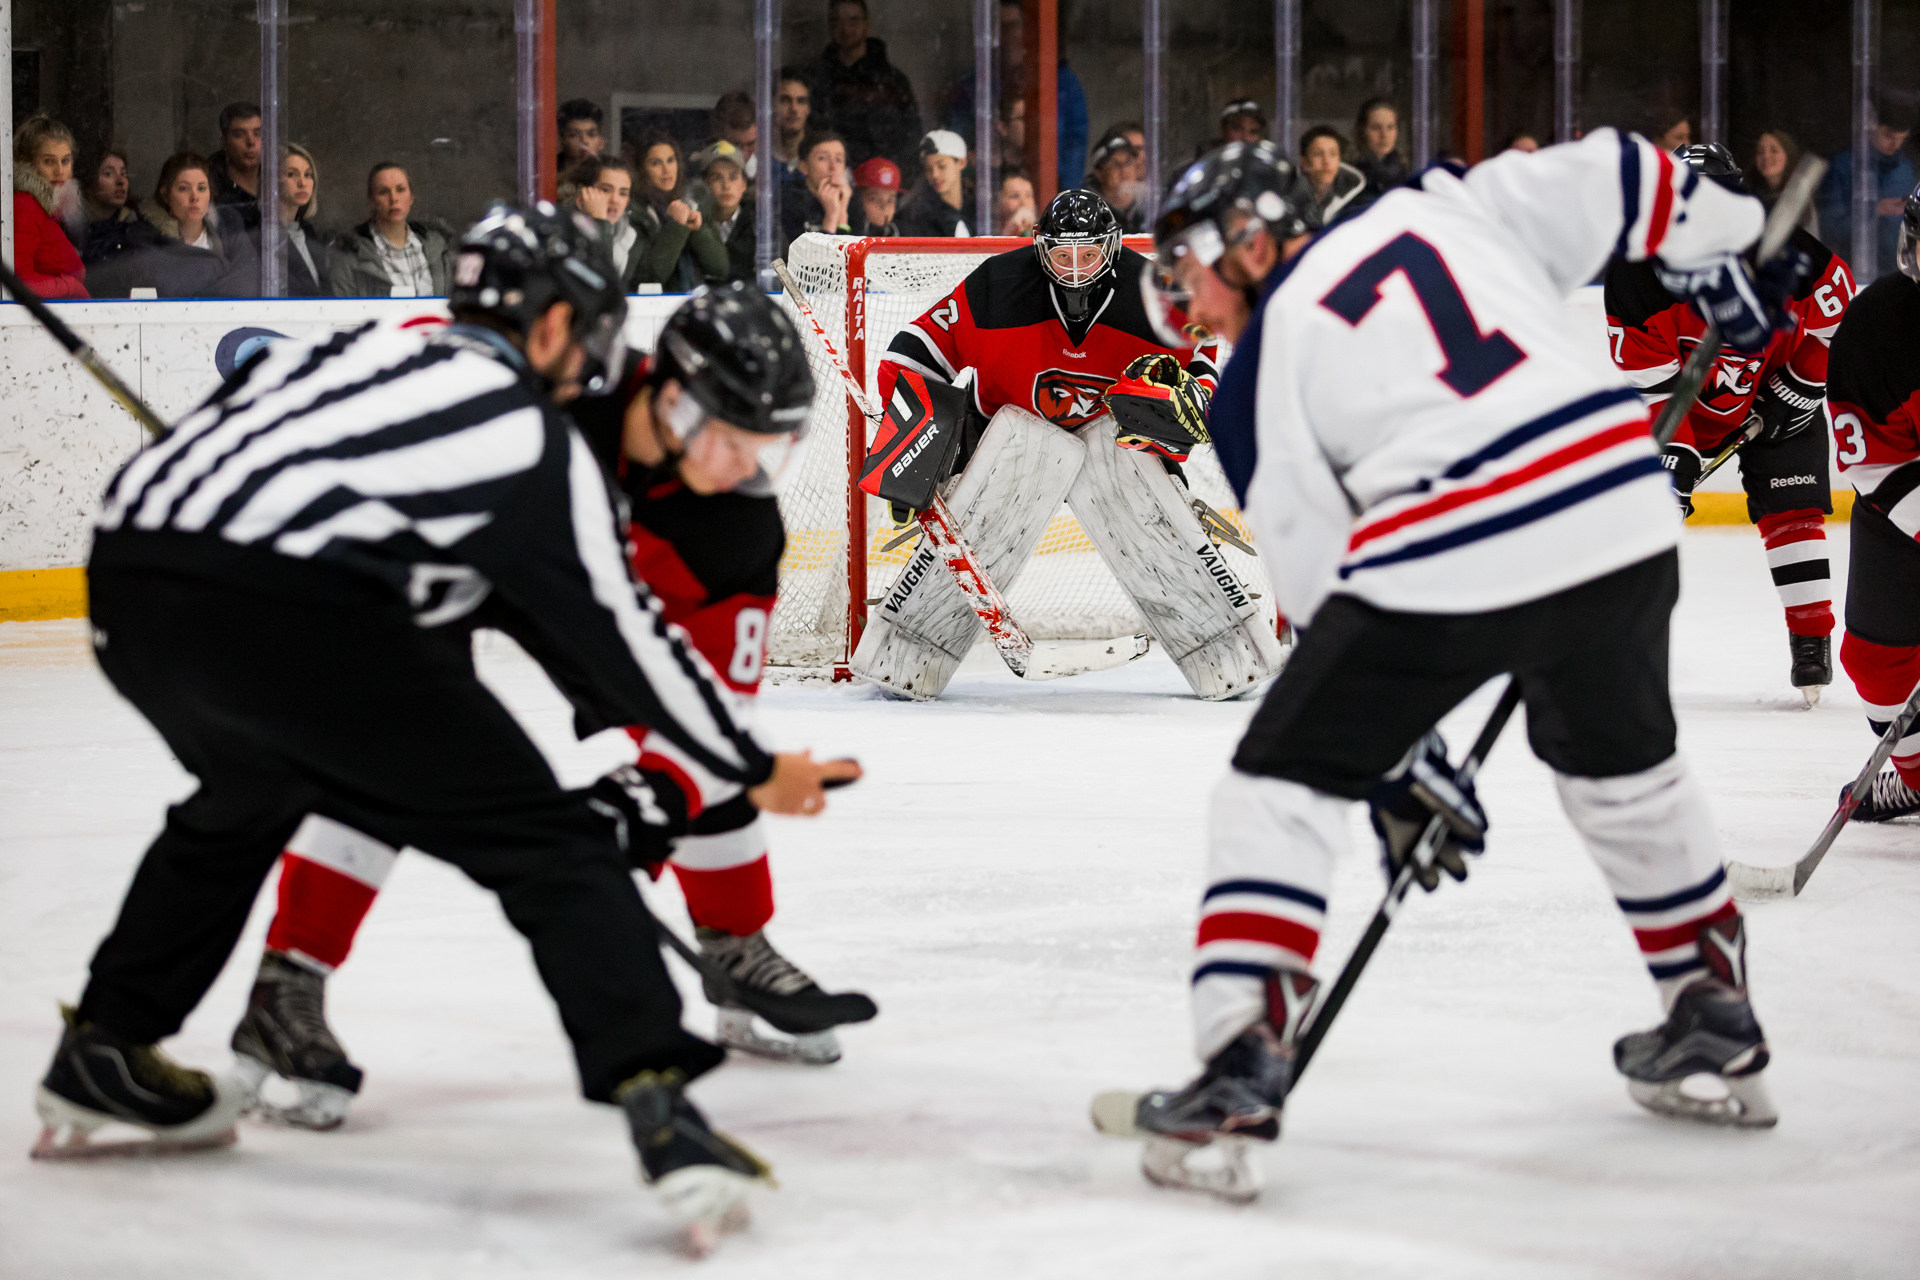
What are the best camera settings for hockey photography?
Have you ever tried to shoot hockey with your camera set to “Auto” or “Sport” and been disappointed with the results?
Cameras are getting smarter every day — but they still struggle with the challenges that come with photographing hockey.
The good news is that you can learn to set up your camera in manual mode and make the most of your time at rink.

What are the benefits of commercial photography for your small business?
What are the benefits of commercial photography for your small business? How do you quickly grab a potential customer’s attention? People don’t read anymore and there are a million different distractions competing for interest, so anything mundane or expected isn’t…

What is the Best Lens for Ice Hockey Photography?
Welcome to the world of hockey photography! You’re up against low light and fast action. Without a little bit of planning, it’s the perfect recipe for blurry pictures.
You ready for a challenge?
I’m going to compile a list of some excellent lenses that you should think about getting if you want to take your hockey photography to the next level.