
Your Guide to using Shutter Speed for Hockey Photography
Read more in the Hockey Photography Series:
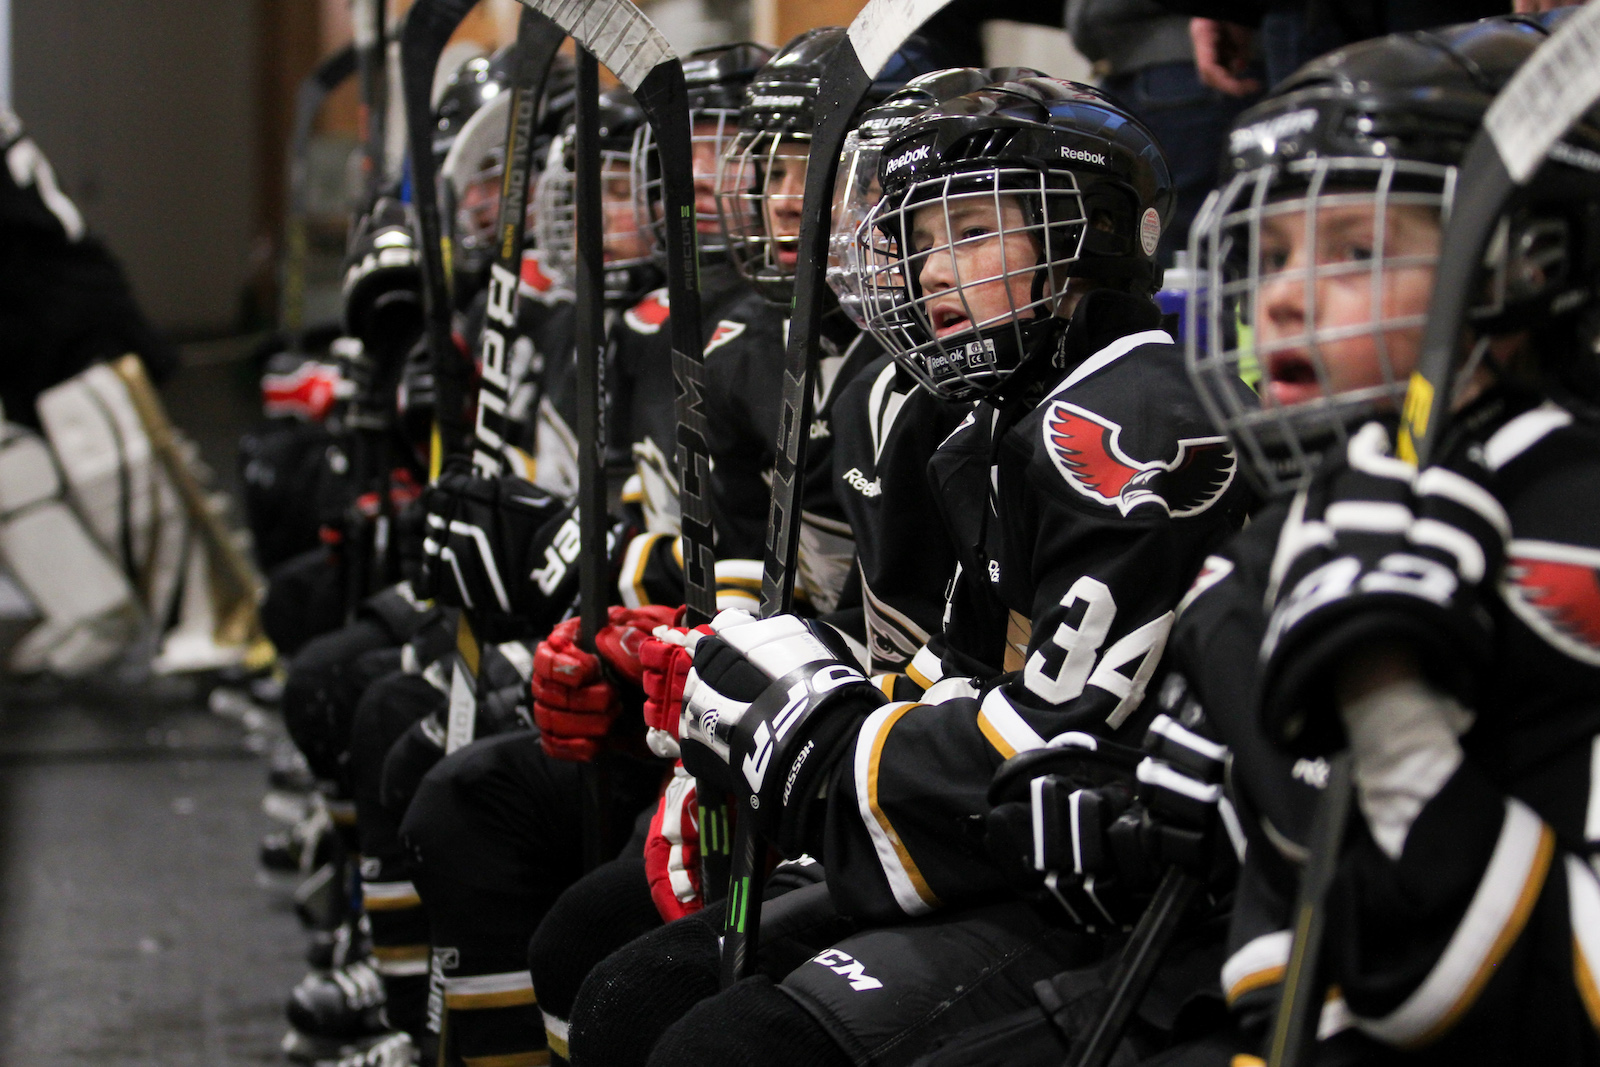
Hockey is a fun and fast sport, but it can also be incredibly challenging to photograph.
This guide, presented as a series of posts, will give some understanding on how you can take better hockey pictures.
Key Point: There is no ideal camera setting that will work in every arena.
This means you have to be on your toes. Professional hockey arenas have significantly better lighting than your typical local rink. In fact, I’ve seen horror movies with better lighting than some community rinks.
So you may start with an idea of what you want for settings, but there will always be compromises depending on your situation.
Here’s another important point: You don’t need to have the best camera on the market to get hockey pictures.
My first DSLR was a Canon T1i, an entry-level camera. I used it to take hockey pictures that I’m still proud of today. Yes, there will be some limitations, but there’s nothing that a little bit of ingenuity won’t figure out.
Going Manual
In this post, I’m going to talk about manually selecting your shutter speed. In order to do that, you’re going to have to switch away from auto or sport settings on your camera.
For those of you who haven’t done that before, this might be a very stressful moment for you.
Remember to breathe. We’ll get through this together.
Manual exposure probably sounds intimidating if you’ve never dabbled with it before, but it actually makes your job at the rink much easier.
In fact, in any situation where you have constant lighting, you should set your camera settings manually.
There’s two reasons for this:
- Having the same settings across the board saves time later when you go to edit your pictures.
- Cameras are easily fooled. This is especially true in hockey arenas because you are looking at a large sheet of white ice. If you leave your camera to decide for itself, it will try to make every image darker to counteract the brightness, and all your pictures will be underexposed.
Fortunately, the vast majority of modern cameras let you see your test pictures on an LCD screen. By reviewing and making adjustments accordingly, you can quickly find the settings you need for the arena you are in.
“Key Point: There is no ideal camera setting that will work in every arena.”
Hockey is a fun and fast sport, but it can also be incredibly challenging to photograph.
This guide, presented as a series of posts, will give some understanding on how you can take better hockey pictures.
Killing the Blur with your Shutter Speed
Okay, that was a lot of preamble. Let’s get to the point.
Here’s a super quick review on what shutter speed does:
Shutter speed is the amount of time the camera sensor is exposed, determining how “fast” the picture is. A long shutter speed takes in more light than a fast shutter speed.
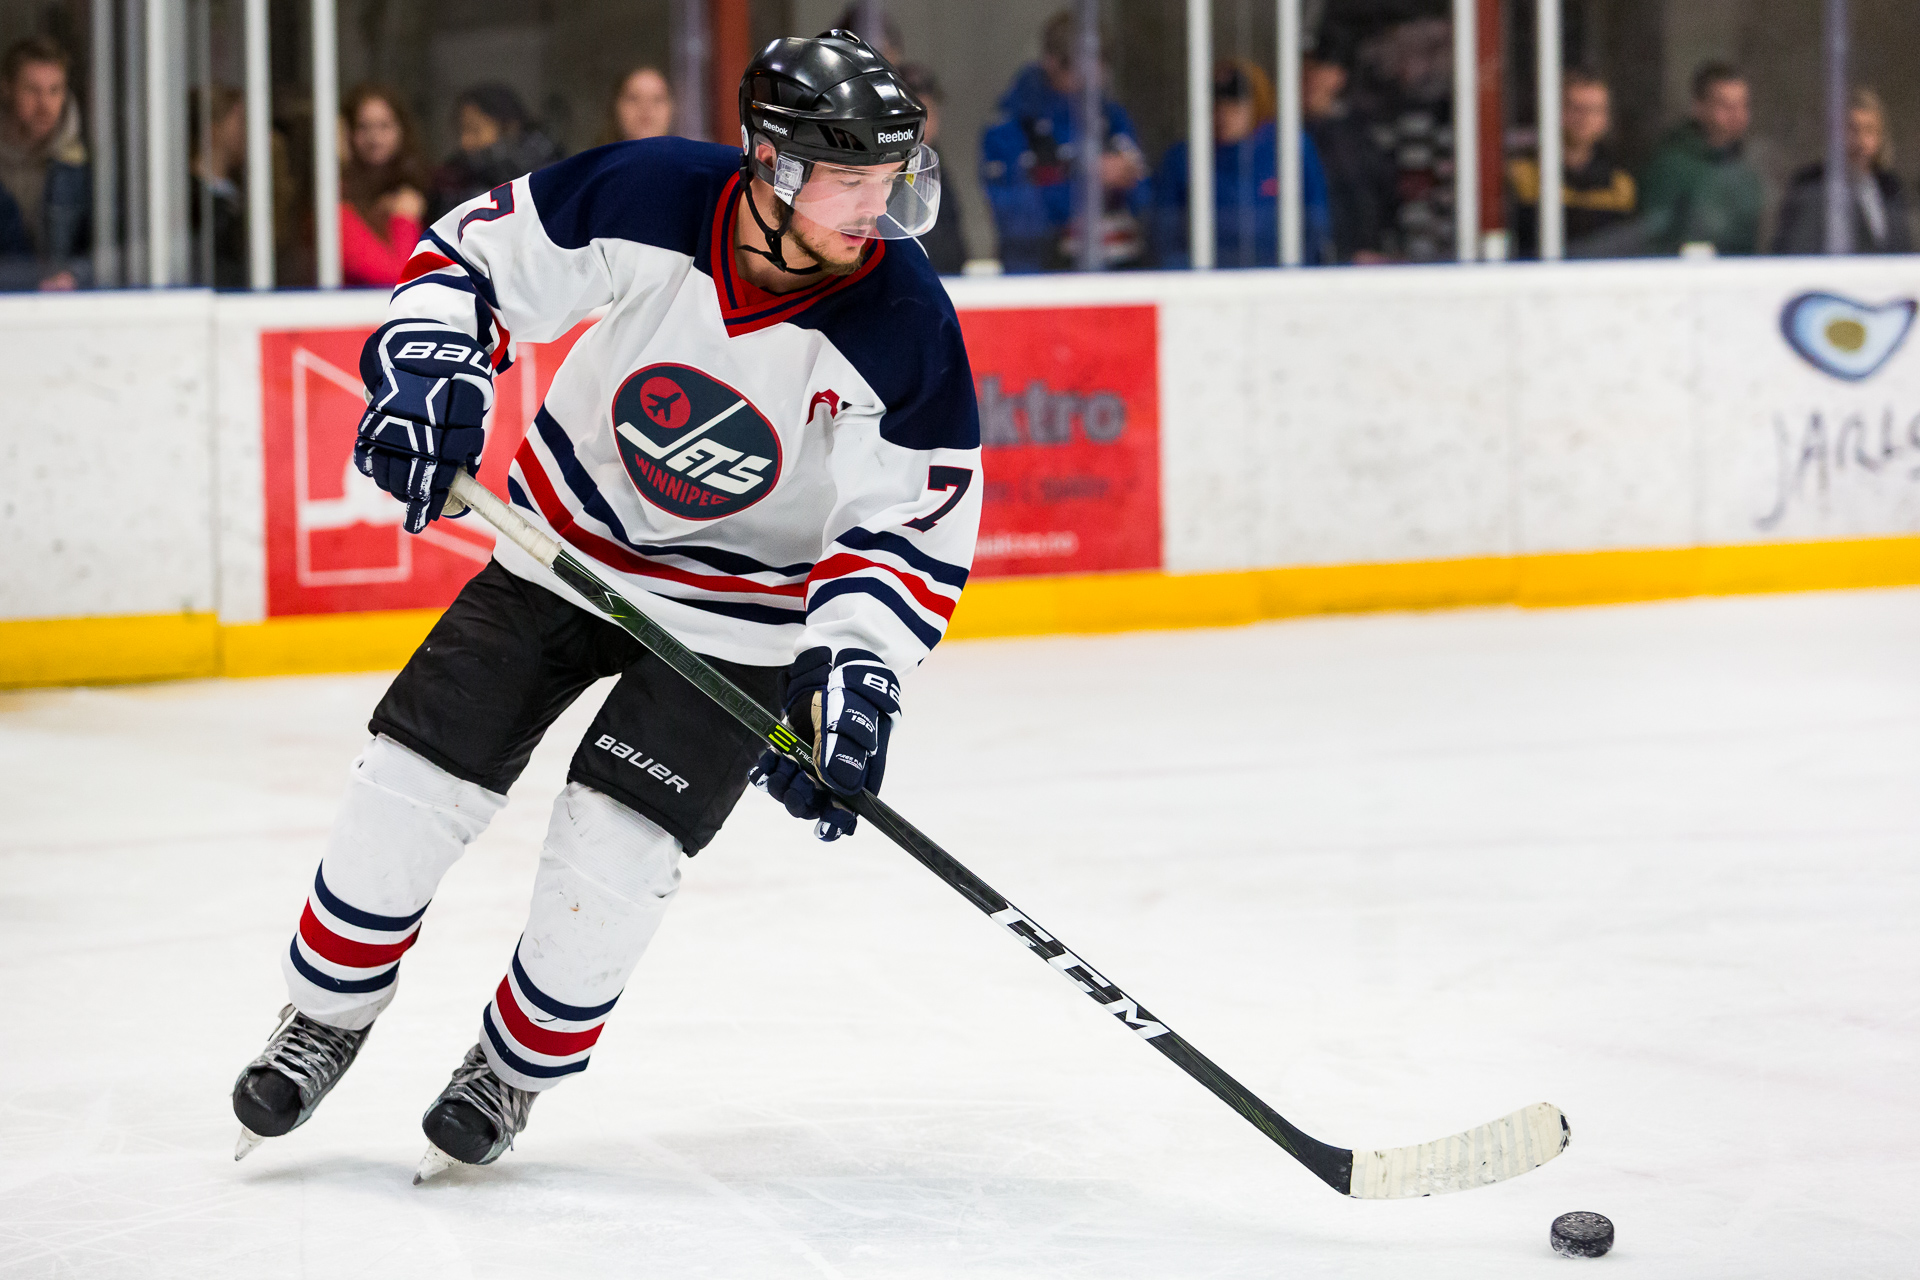
When photographing hockey, finding the right shutter speed will likely be your biggest priority.
This is because I assume that you want your hockey photos to be mostly blur free. Yes, a bit of blur can give a feel of action and speed, but too much of it will simply ruin the picture.
Sidenote: Adventurous photographers can try panning as a player goes past. When done right, this holds the player in focus while the arena blurs around them. It can be a pretty cool effect. But if you want to kill the blur you’re going to need a fast shutter speed.
How fast do I need to go?
The shutter speed required for freezing the action depends entirely on who is playing. Getting a shot at a peewee hockey game doesn’t quite require as fast of a shutter speed as when you are trying to shoot an NHL game.
Now, if you really wanted to freeze the action, you would set a shutter speed of 1/1000 and be done with it. Remember, however, that this will influence all of your settings. The arena conditions may force you to lower your desired shutter speed so that you have enough light to work with.
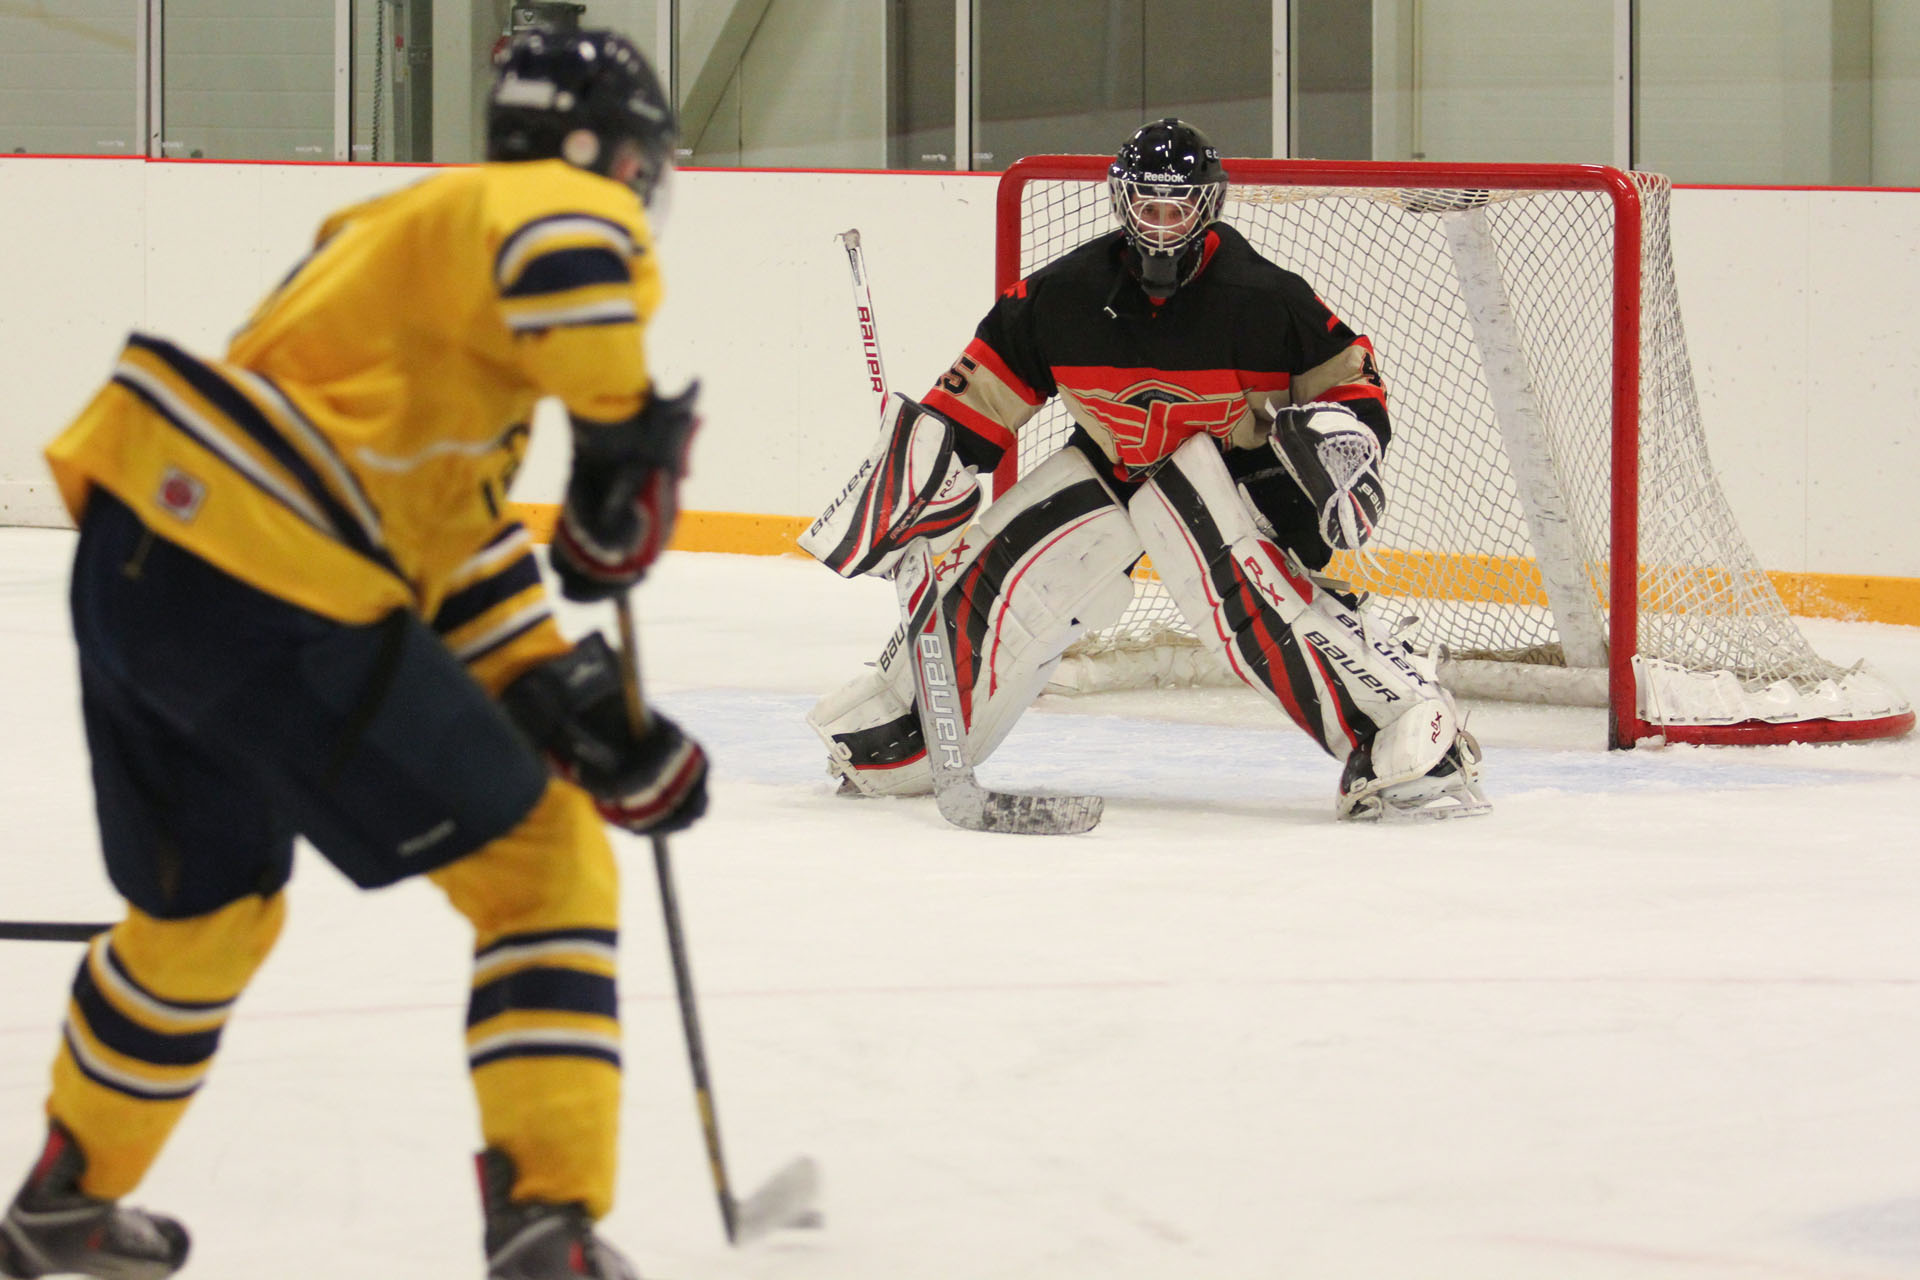
Try starting with something around 1/250. Take some test pictures and review them to see how blur may be affecting them. From there, play with your shutter speed to determine what you need. The “correct” shutter speed depends entirely on your own taste.

Settings: 1/500, f2.8, ISO 1600
Finding the moments
What happens if you can’t manage a fast shutter speed?
Maybe you’re in an especially dark arena? Or maybe you’re using a phone camera and don’t have the luxury of fancy manual settings?
Well, it’s quite simple – you won’t be able to take a blur-free picture of a player skating past you at full speed. And yes, that kind of sucks.
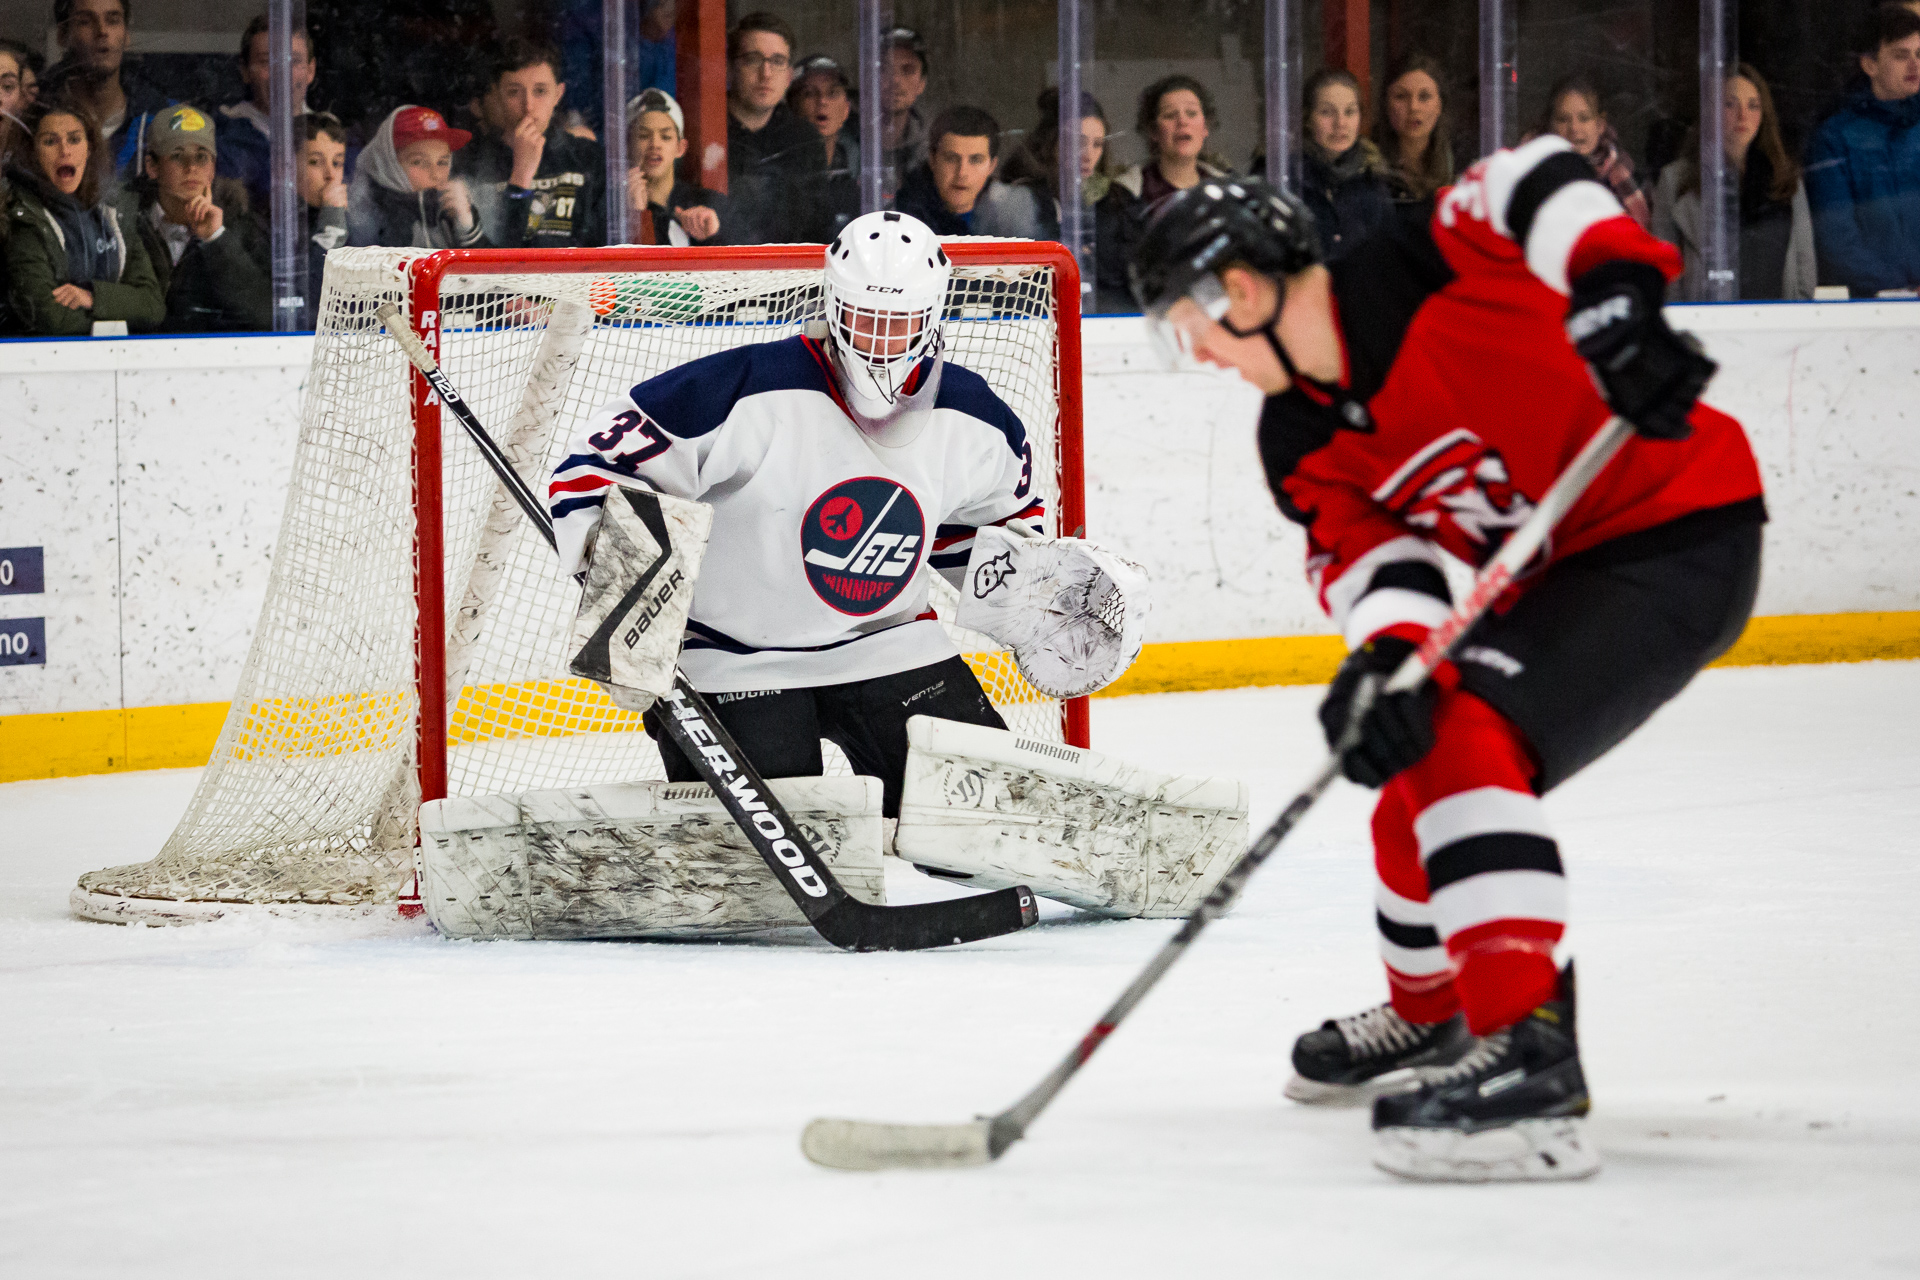
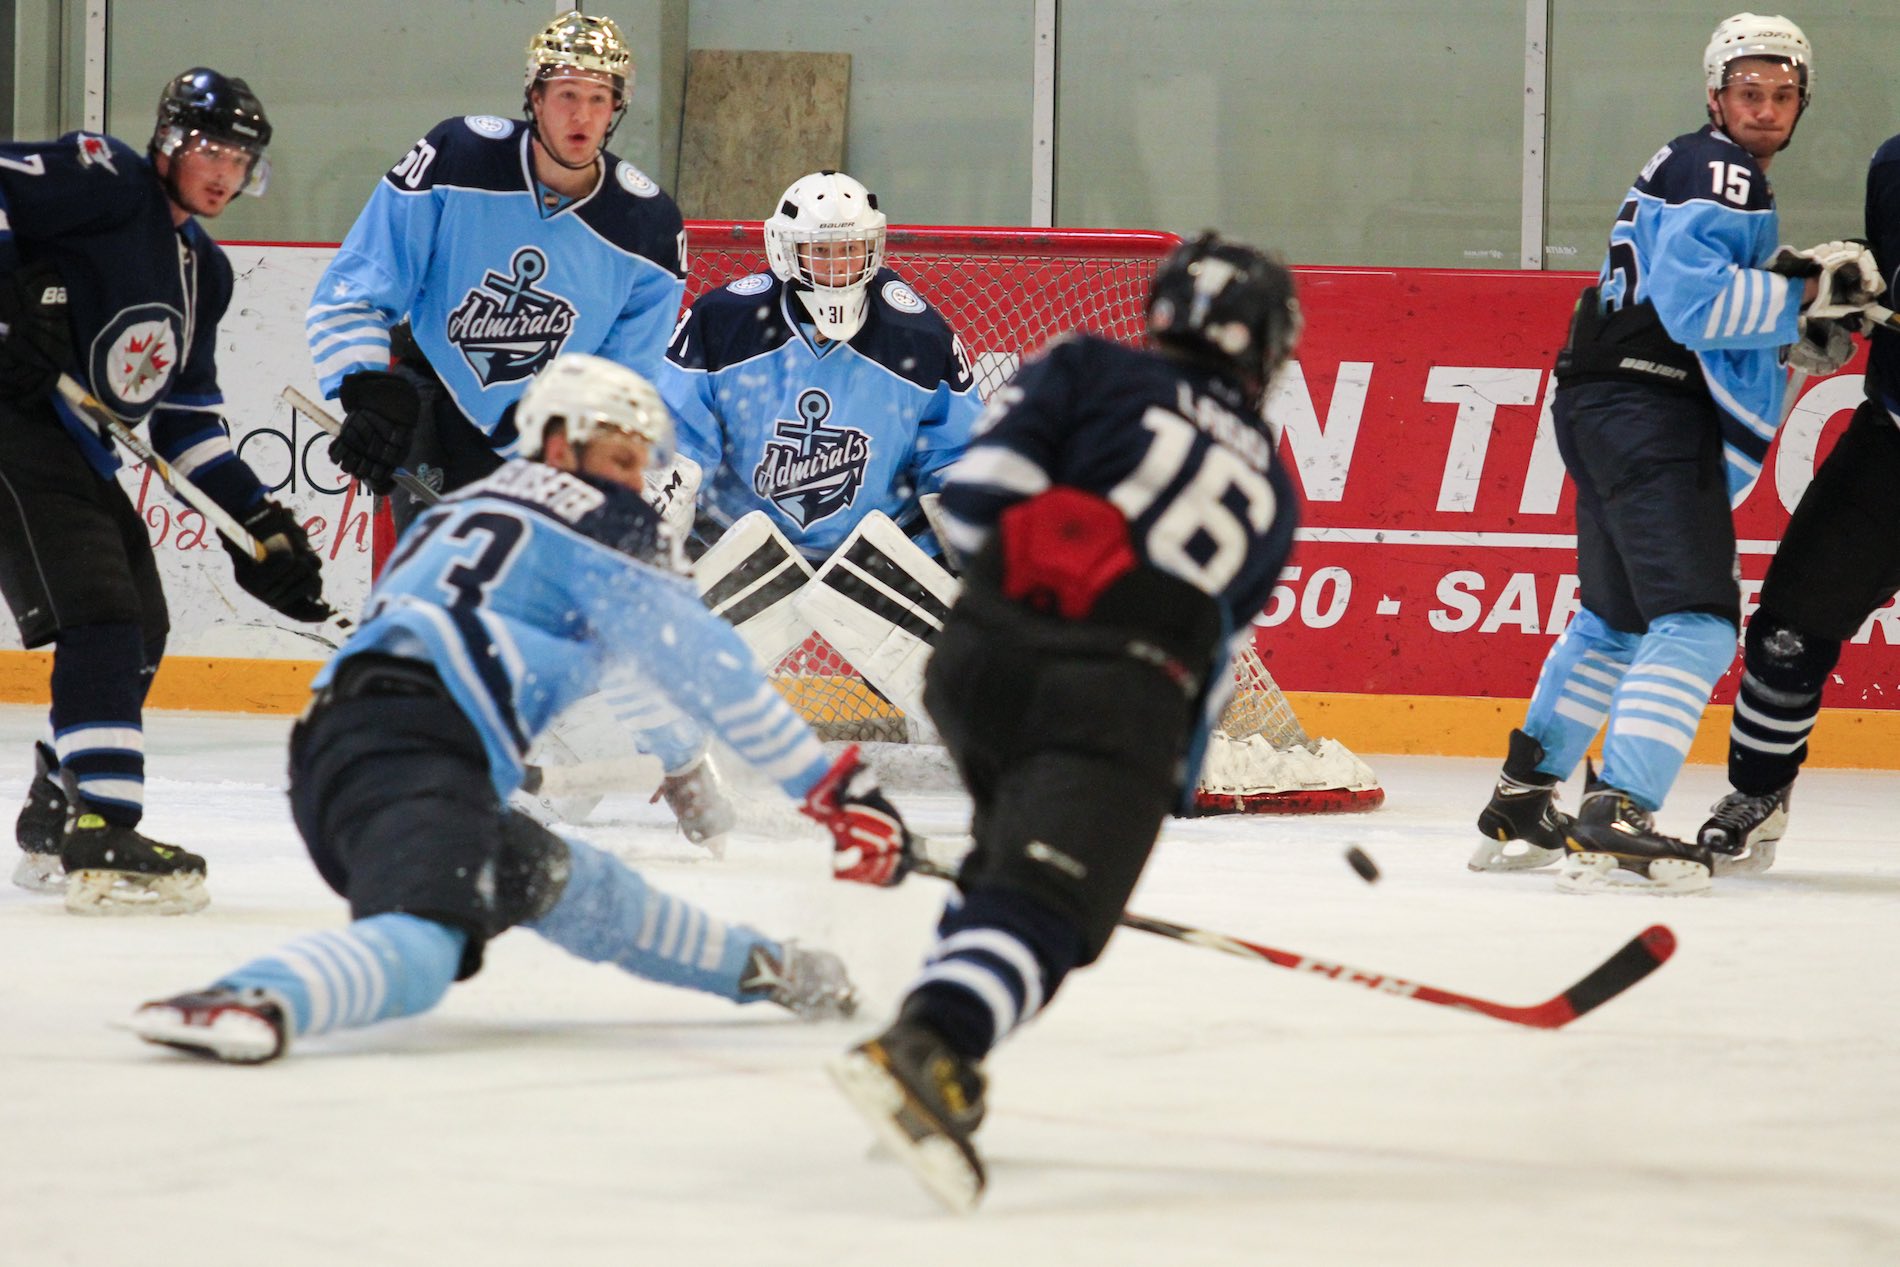
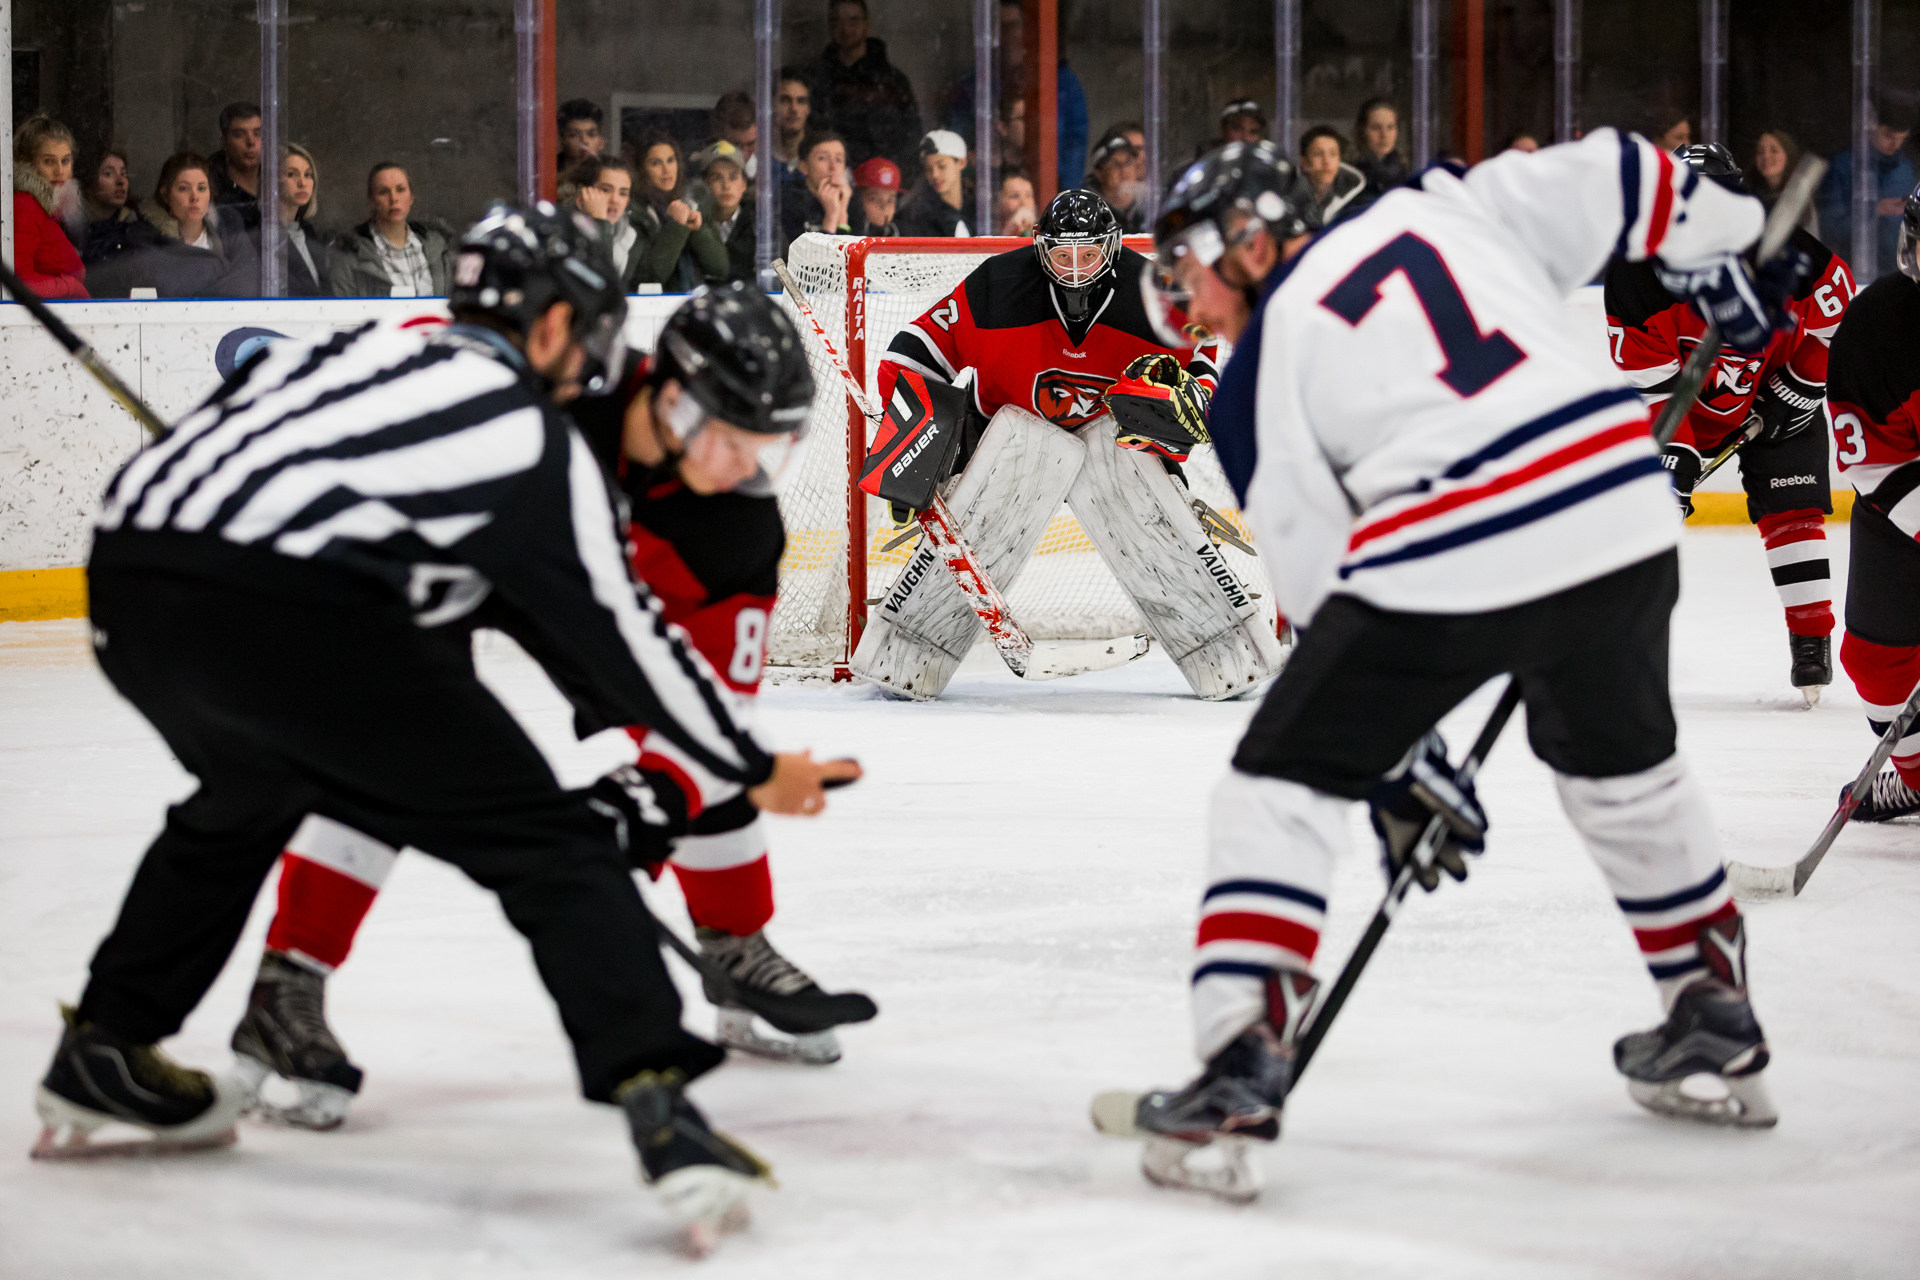
But you can still take great pictures at the right moment. Wait for times when there is less movement, like when the puck is dropped at a face-off, or as players catch their breath on the bench. Another cool moment is when the goalie is set and stable in the moment before or immediately after they make a save.
Settings: 1/400, f2.8, ISO 1250
Just because you can’t capture the stick flexing as a player takes a slapshot doesn’t mean you have to go home empty-handed.
“Stealing” from the Pros
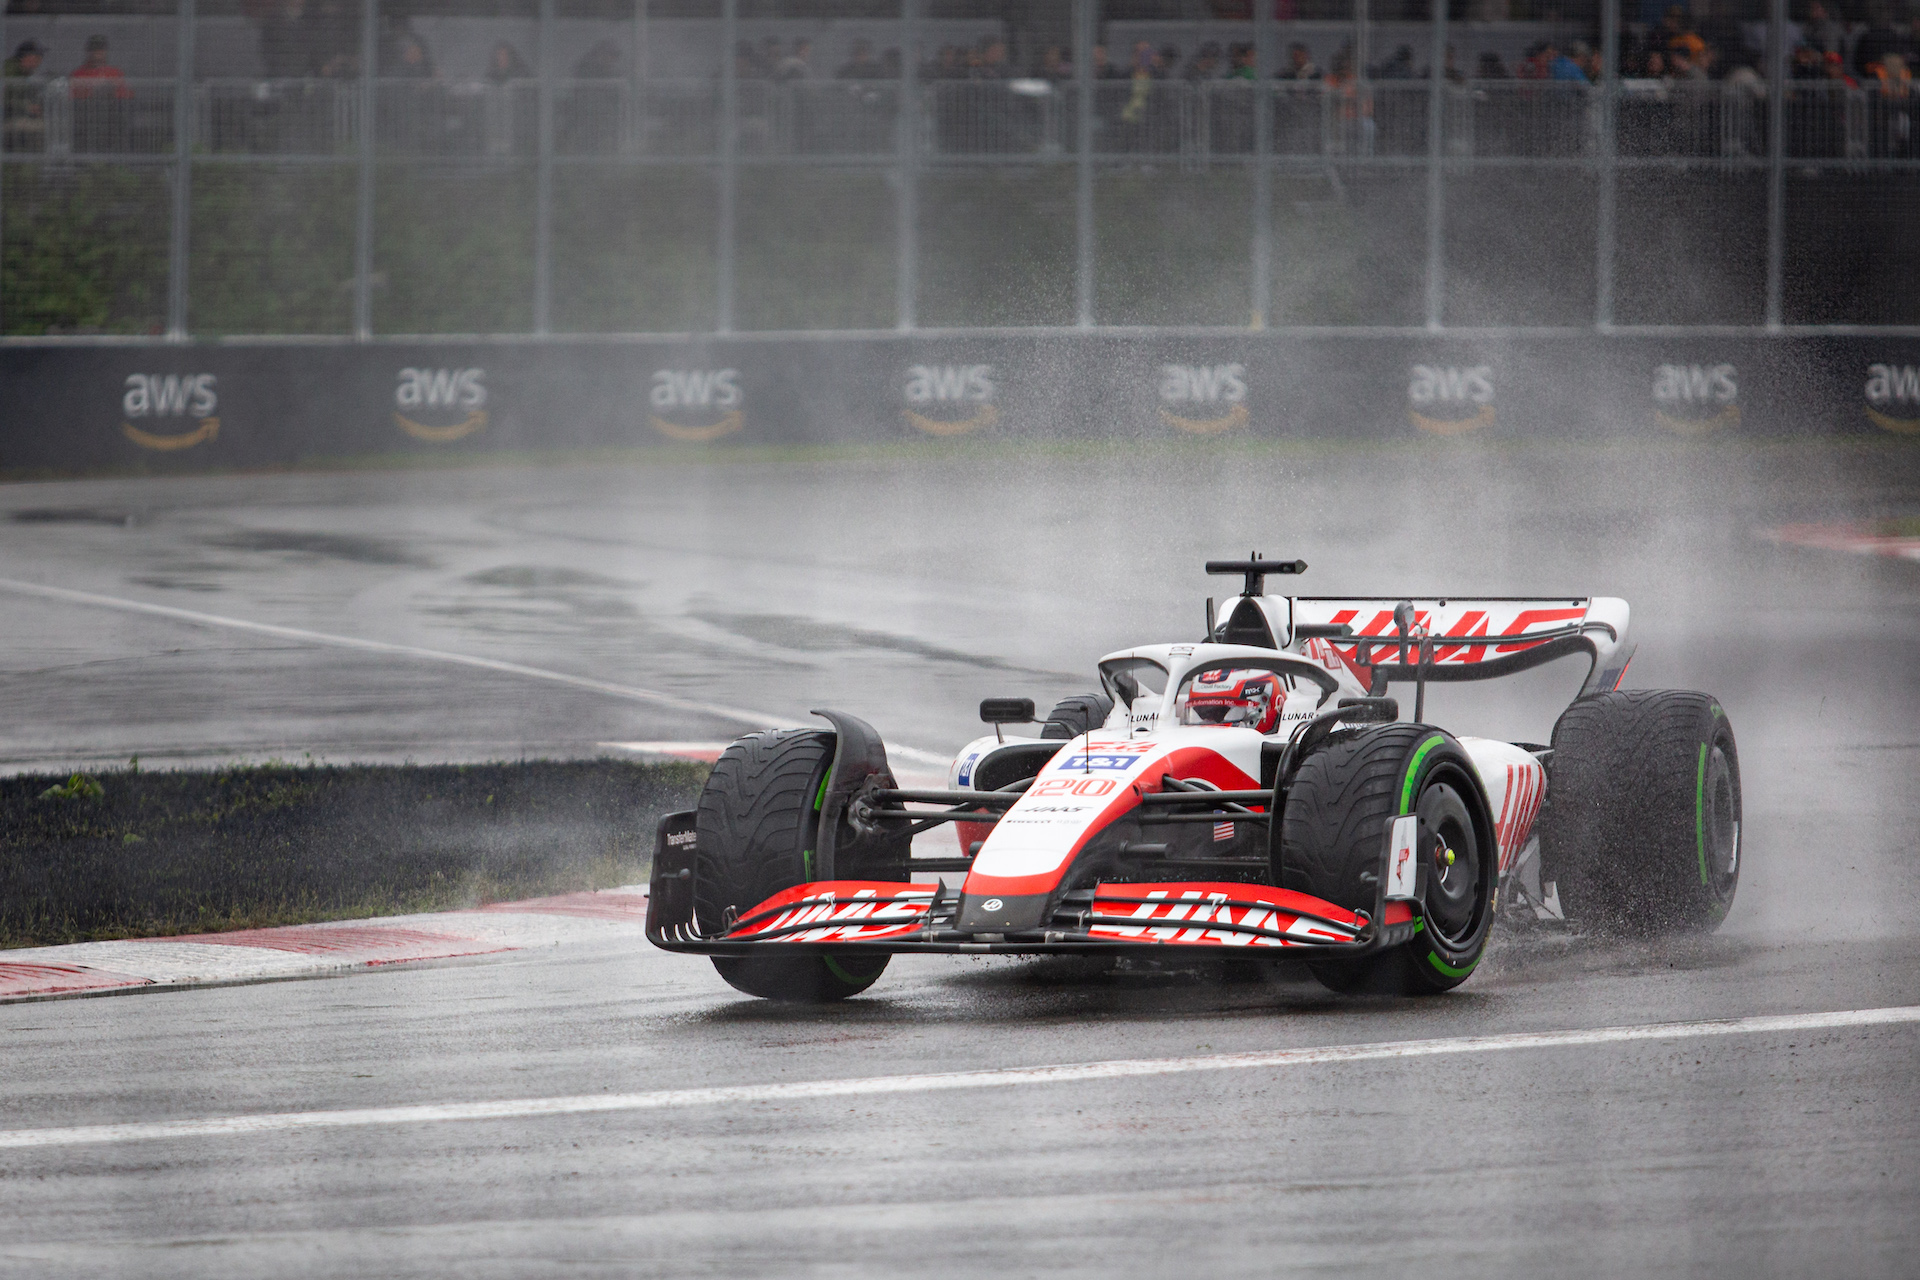
Here’s a cool tip: You can see exactly what settings professional hockey photographers use by finding the EXIF data in their photos.
EXIF stands for Exchangeable Image File Format. Simply put, it is a data dump of all the camera settings used in an image.
Not all online pictures have this – many websites remove this data in order to reduce the file size or because the photographer doesn’t want to reveal how the picture was made.
There are various apps and programs available for finding EXIF data, by for starters you can try just downloading the photo, right clicking on it and viewing the properties or image information.
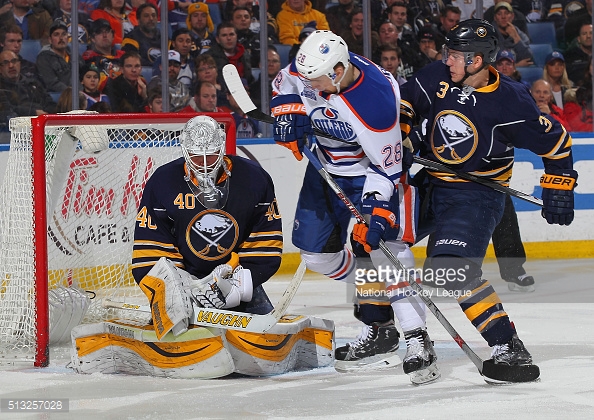
Settings: 1/250, f8, ISO 400
*This is not my image. I’m posting it here for informational purposes
Of course, you can’t just take these settings to your local rink and expect the same results. But what I can learn from this is:
- These NHL photographers trust that 1/250 is fast enough to get the pictures they want, even at NHL speeds
- NHL arenas have a freakin’ boatload of light compared to your average community rink.
So now we’ve got an idea of where we want our shutter speed to be. That’s a good start, but there’s still a long way to go.
The latest posts from the Photography Blog

Preparing for Your Family Photography Shoot: 6 Important Things to Consider
Preparing for Your Family Photography Shoot: 6 Important Things to Consider Planning a family photoshoot? This short guide will give a list of what to consider in advance to make sure to get the most out of the time and have confidence you’ll get some great pictures!…
How to Take Photos from the Grandstands of the Canadian Formula One Grand Prix in Montreal
How to Take Photos from the Grandstands of the Canadian Formula One Grand Prix in Montreal While all sports are challenging to photograph in their own way, Formula One is an especially difficult event to capture for the casual photographer. This guide is a summary of…

The Top 5 Reasons to Book a Corporate Headshot Photoshoot for Yourself or Your Team
The Top 5 Reasons to Book a Corporate Headshot Photoshoot for Yourself or Your Team A professional, current headshot is a must in today’s digital-first society. For many lines of work, the difference between a good or a not-so-good headshot might be the dealbreaker in…
What are the best camera settings for hockey photography?
Have you ever tried to shoot hockey with your camera set to “Auto” or “Sport” and been disappointed with the results?
Cameras are getting smarter every day — but they still struggle with the challenges that come with photographing hockey.
The good news is that you can learn to set up your camera in manual mode and make the most of your time at rink.

What are the benefits of commercial photography for your small business?
What are the benefits of commercial photography for your small business? How do you quickly grab a potential customer’s attention? People don’t read anymore and there are a million different distractions competing for interest, so anything mundane or expected isn’t…

What is the Best Lens for Ice Hockey Photography?
Welcome to the world of hockey photography! You’re up against low light and fast action. Without a little bit of planning, it’s the perfect recipe for blurry pictures.
You ready for a challenge?
I’m going to compile a list of some excellent lenses that you should think about getting if you want to take your hockey photography to the next level.
Hi Frank, you probably wrote this article ages ago, about shooting hockey at ss 250. The reason that shot at the oilers game is frozen at 250 is because it is lit by strobes fired by the photo pro. A shot at 250 with no strobe would have lots of motion blur. just fyi. cheers man, love the site.
Thanks for the comment! Yeah, I wrote this years ago and those exif settings confused the heck out of me but I took them for face value. Back then I didn’t even consider strobe for a space as large as an arena. I guess I should probably fix the article one of these days…