Your Guide to Using Aperture for Hockey Photography
Understanding Aperture
Aperture refers to the size of the opening in the lens, which determines how much light is allowed through to the sensor. It is measured in a value called f-stops.

Besides controlling the amount of light, aperture also influences the Depth of Field. Depth of Field is the distance in front of and behind your focus point that appears sharp in an image.
The background of a shot taken with a wide aperture (example f / 2.8) will quickly go out of focus. This is a useful technique for making the subject of your picture stand out, so it is commonly used in portrait photography.
Conversely, a picture taken with a narrow aperture (example f / 16) keeps a much wider area of the picture in focus. This is practical for landscape photography.
When I say an image will go out of focus, this doesn’t mean that everything behind the focus point will instantly become completely blurry. It’s probably easier if I describe it as the area of “acceptable sharpness”.
The tolerance for a missed focus shot will vary from photographer to photographer. An awesome shot slightly out of focus is regrettable, but it might be worth saving.
Remember: You can’t edit focus back into an image. Yes, you can sharpen an image, but that’s not quite the same thing.
So focus is pretty darn important.
“Remember: You can’t edit focus back into an image.”
Working with the Light you Have
Here’s where having the right lens counts. Note that I said “the right lens”, not “the most expensive lens”.
To gather in as much light as possible, you’re going to need to shoot with a wide aperture. In most community rinks I’ve been in, I’m using an f-stop of 3.5 or lower.
The standard stock zoom lens that comes with most entry level or hobby cameras has a variable aperture. This means that the maximum aperture changes as you zoom.
Unfortunately, this also means that if you want to zoom to the middle of the ice, your widest aperture is going to be around 5.6. That’s a lot of light lost. You can only gain this back by dropping your shutter speed (and getting blur) or really bumping up your ISO (and losing quality).
Most expensive zoom have a set maximum aperture value, so you can have the same aperture regardless of your amount of zoom.
The 70-200mm 2.8 lens is excellent for covering the distance you need to in a hockey rink while also giving you a good maximum aperture to work with.
If you know you’re going to be doing a lot of hockey photography, consider buying or rent a lens that can go to at least f2.8 or else it’s gonna be a struggle.
Fortunately, you won’t need to sell your car, leg and / or first born child. For shooters working on a very tight budget, I would recommend the 50mm 1.8, which sells for around $100 and is made by both Canon and Nikon. You lose the ability to zoom, but you suddenly can take in a lot more light.
Controlling your Depth of Focus
At first thought, it might seem weird that you want a significant part of your picture to be out of focus.
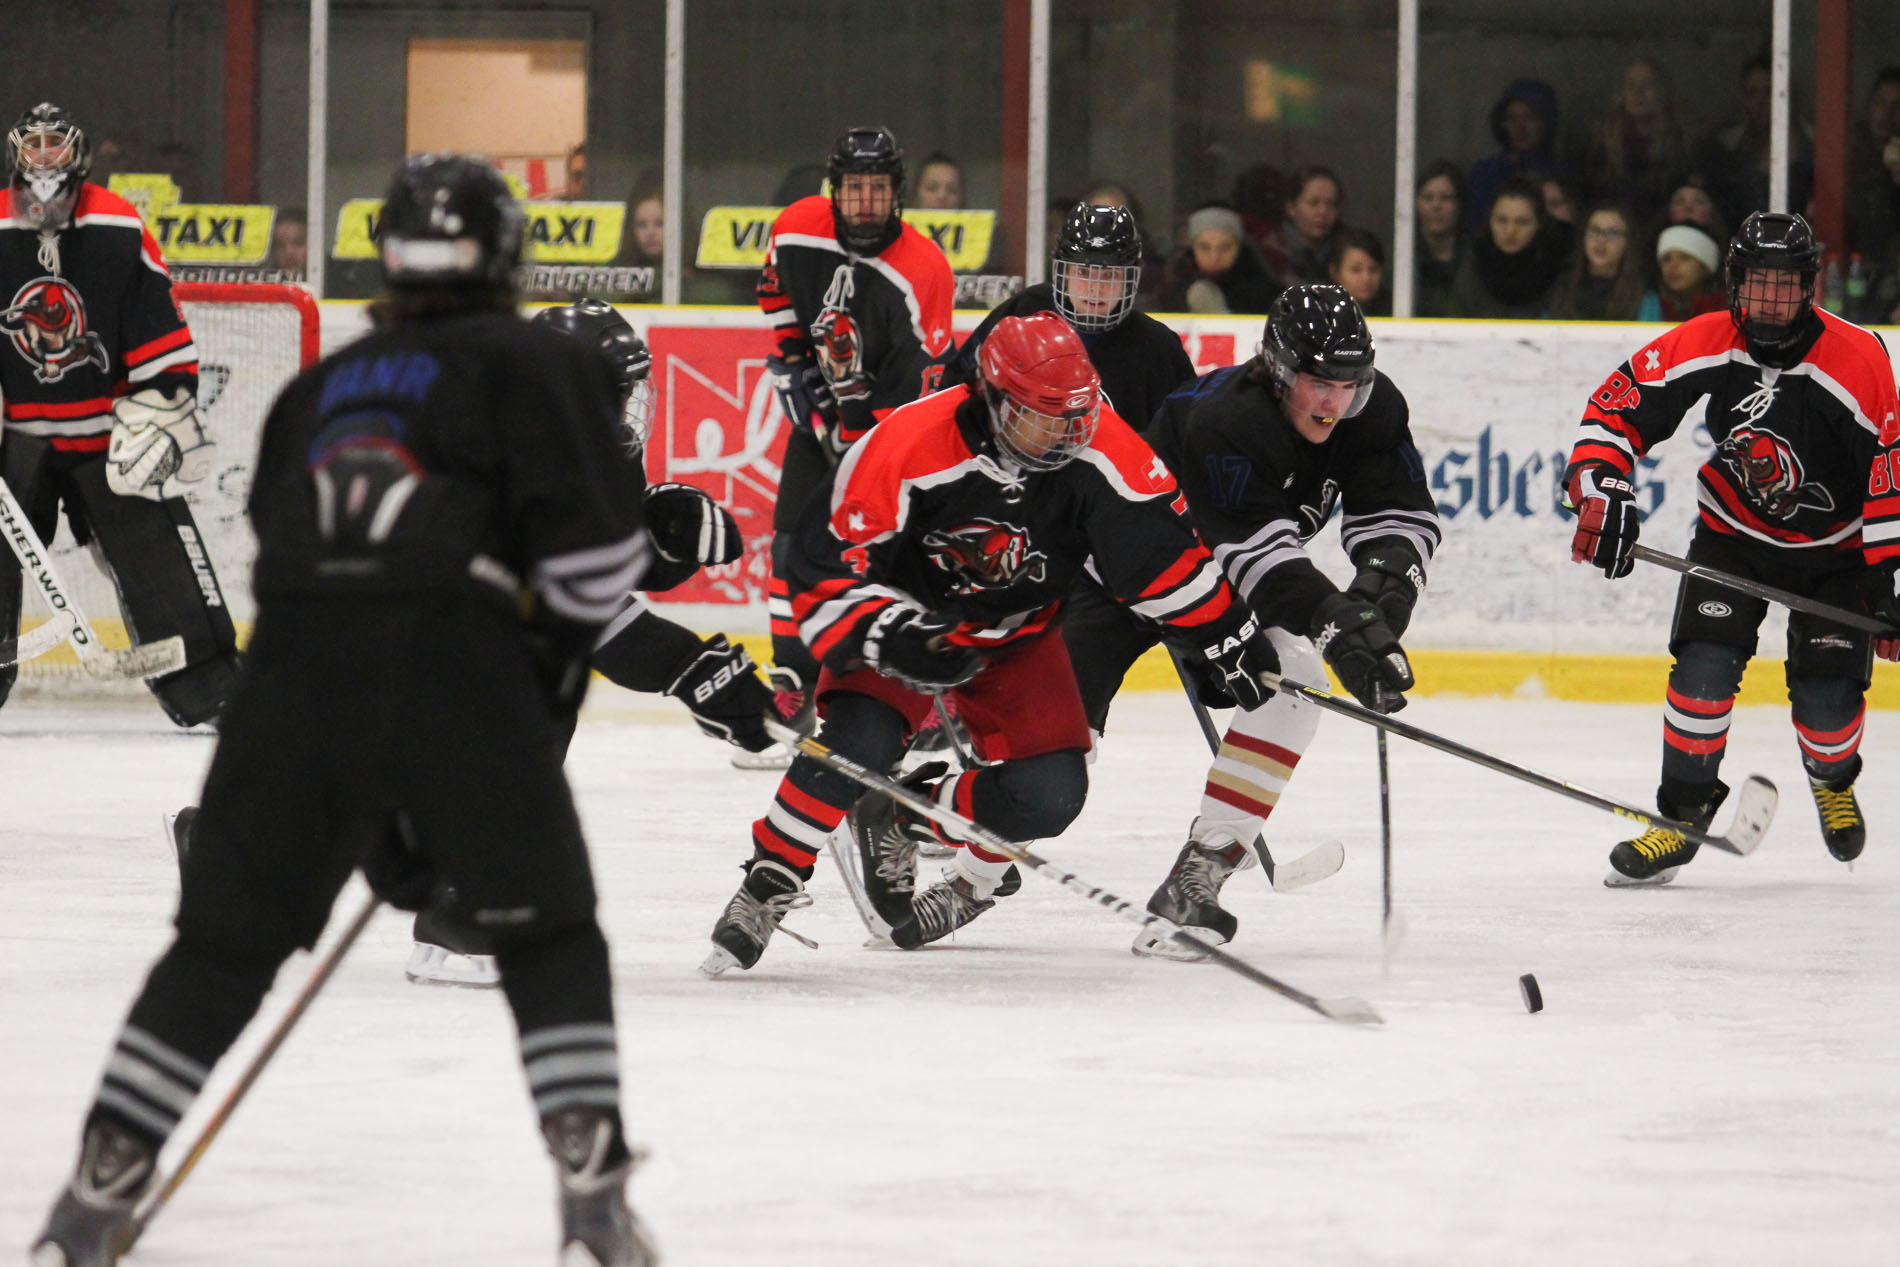
But think about how “busy” the background of a hockey rink typically is. There are advertisements on the boards, many faces of spectators in the stands, other players on the ice, etc.
Even if you were in a magic arena that gave you enough light to shoot at f16, you probably wouldn’t want to use that. Unless you want a really busy picture, of course.
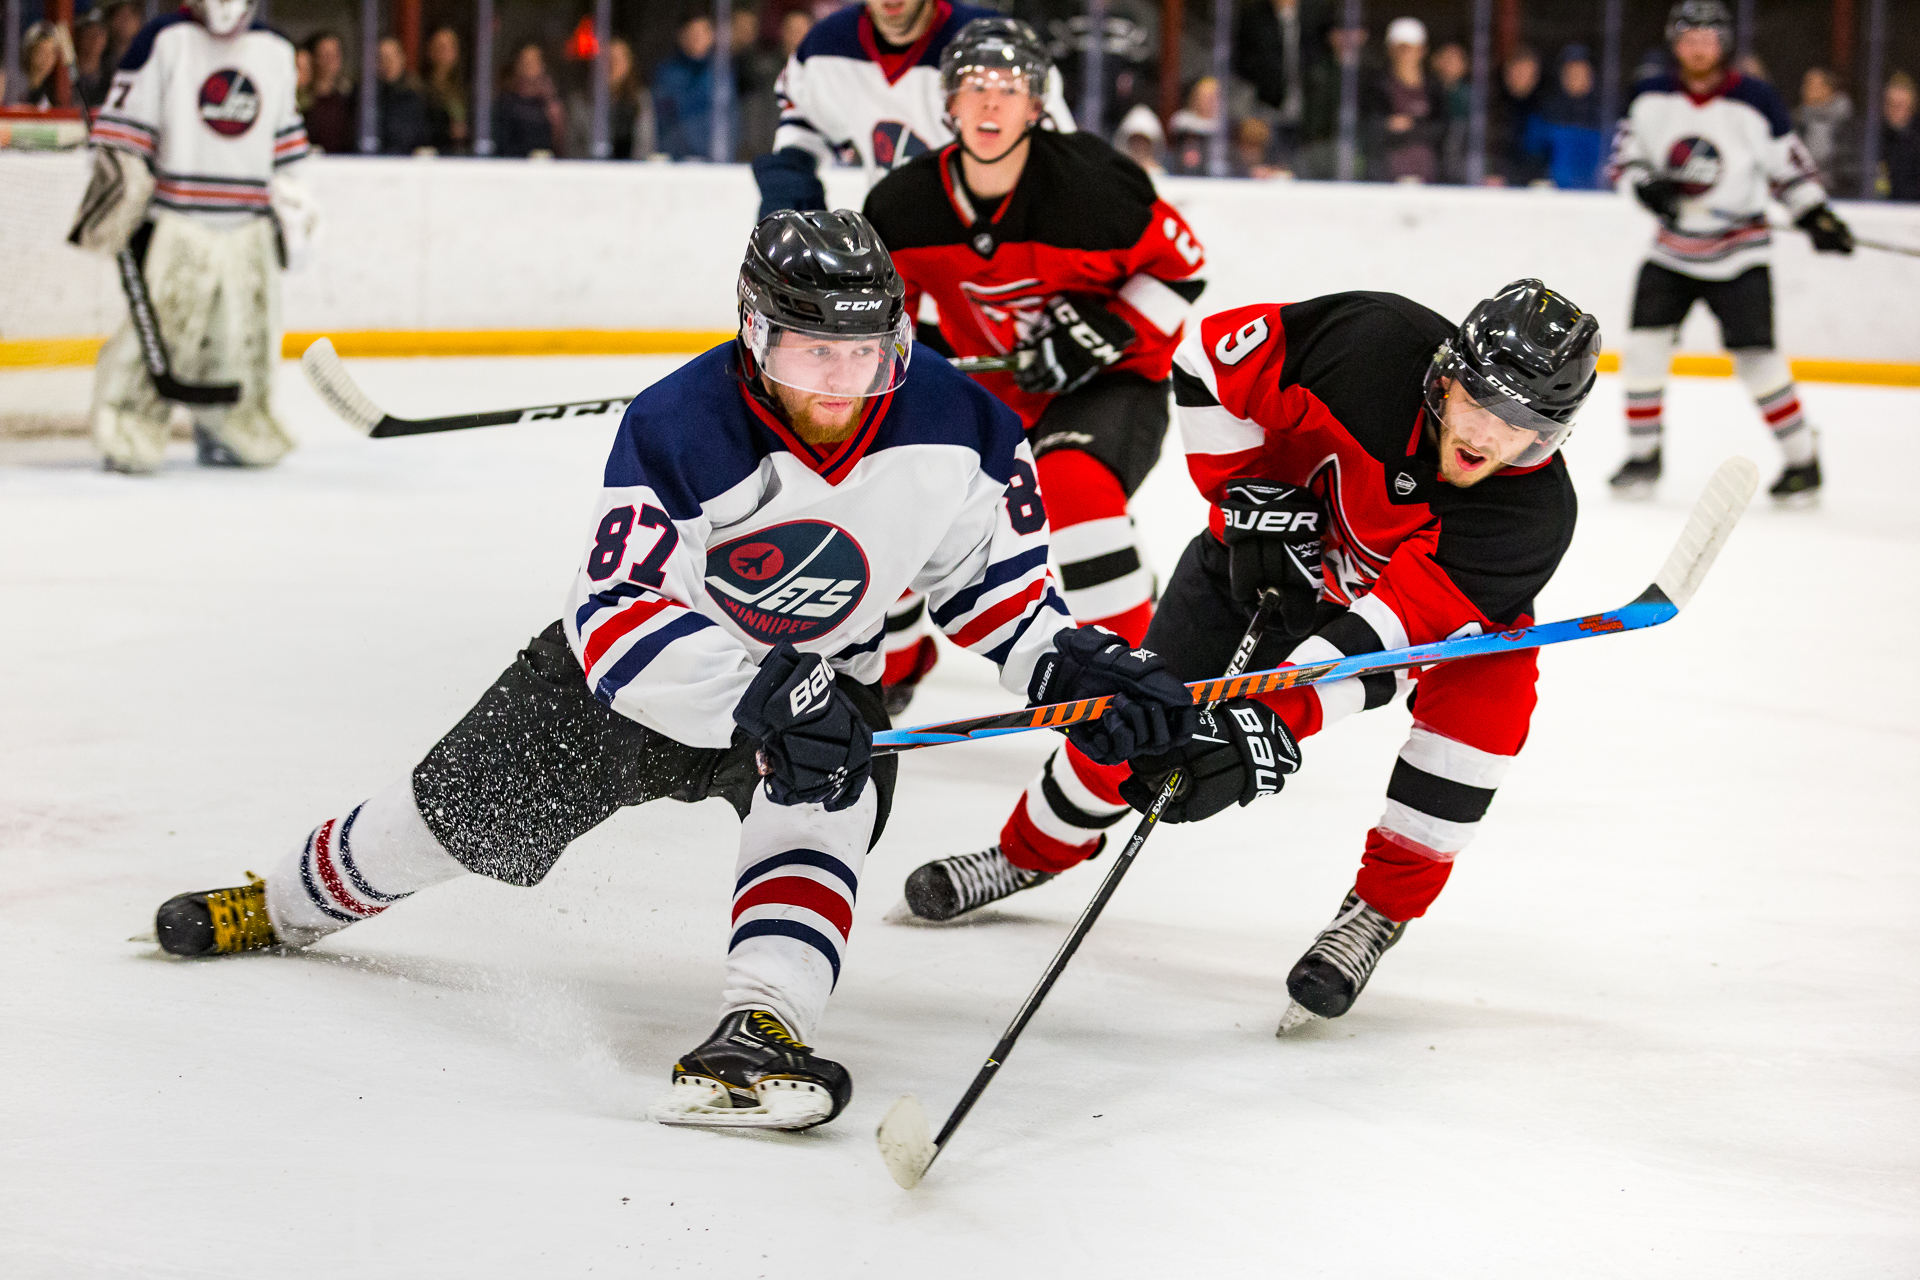
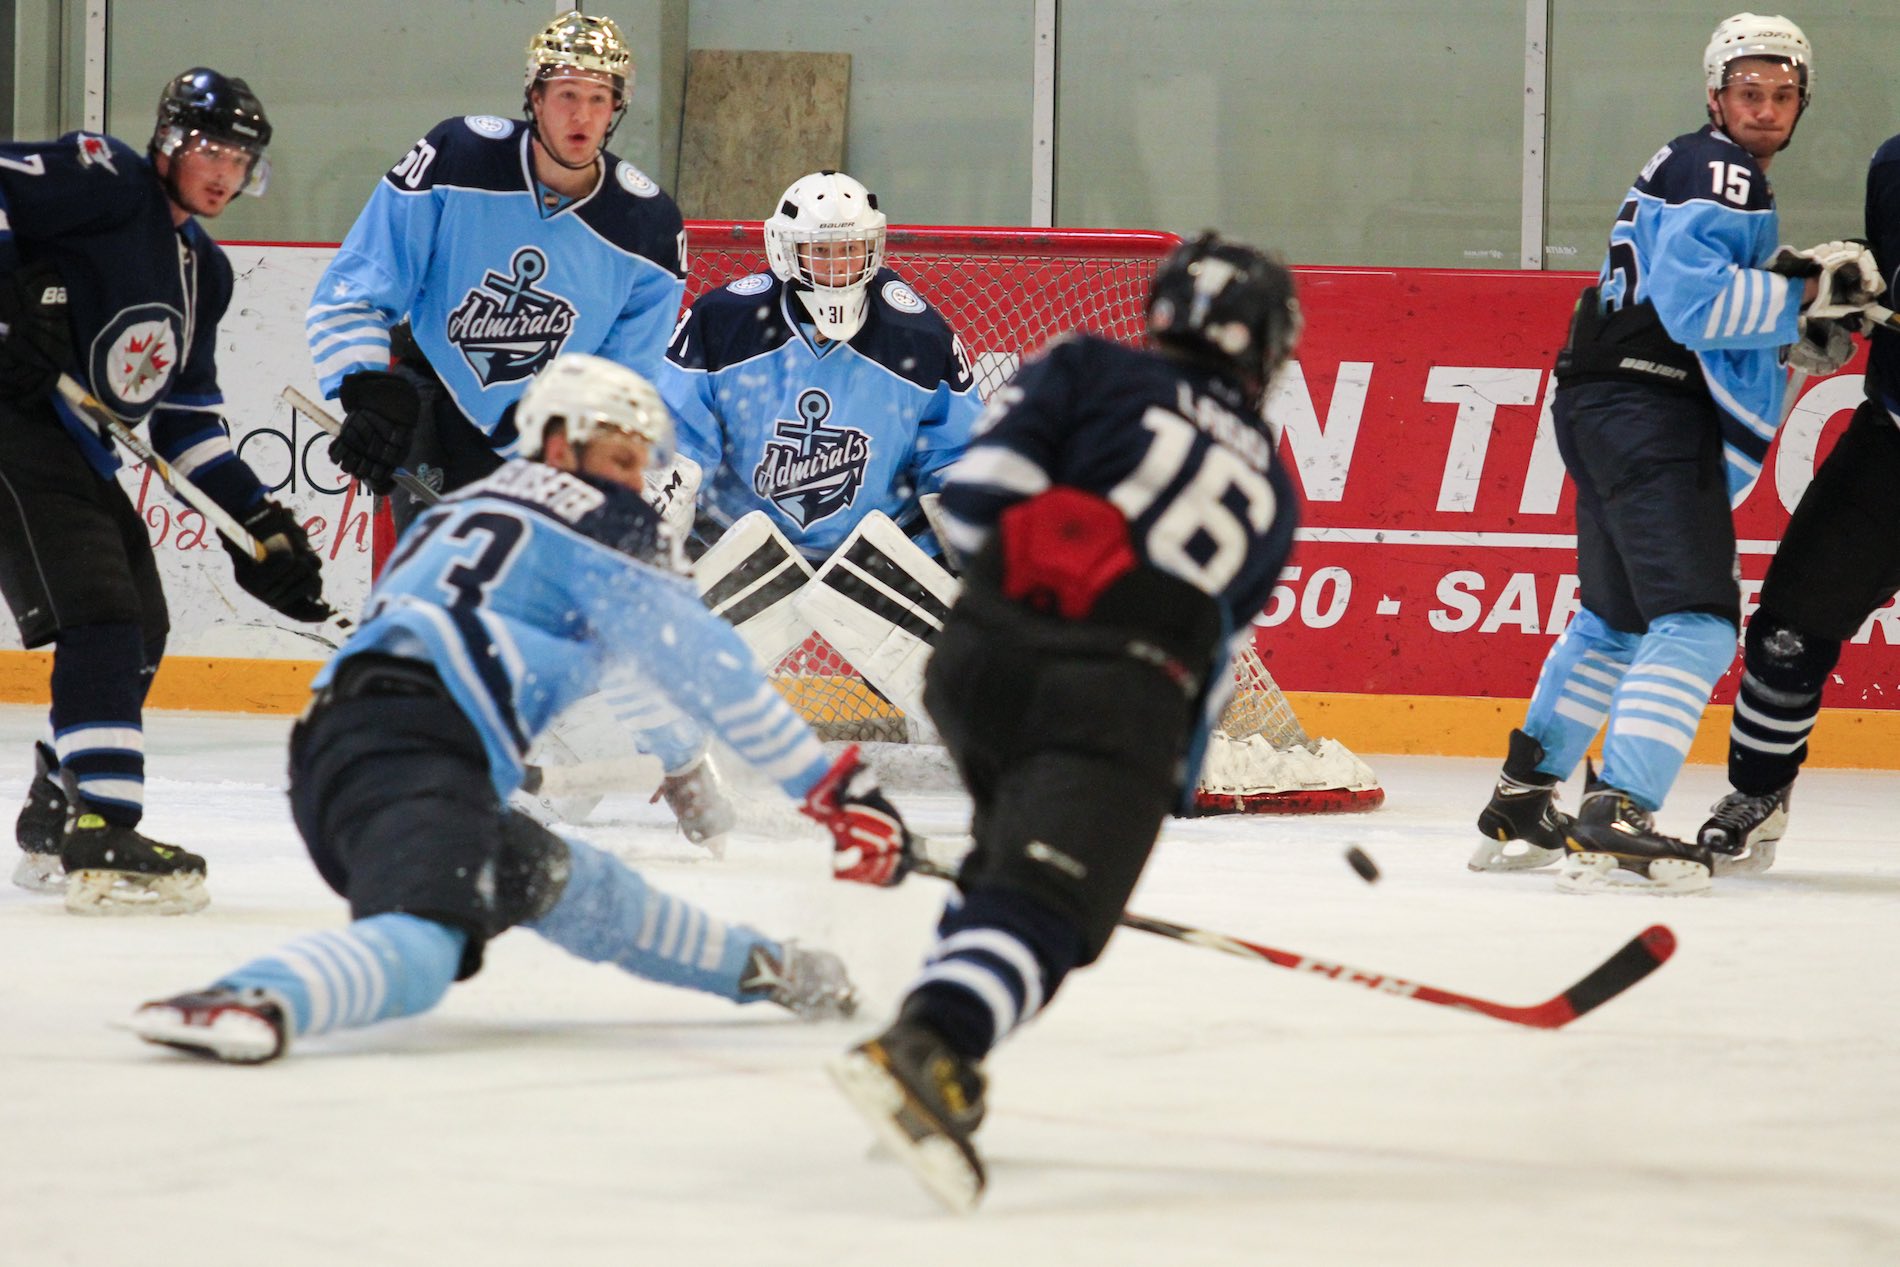
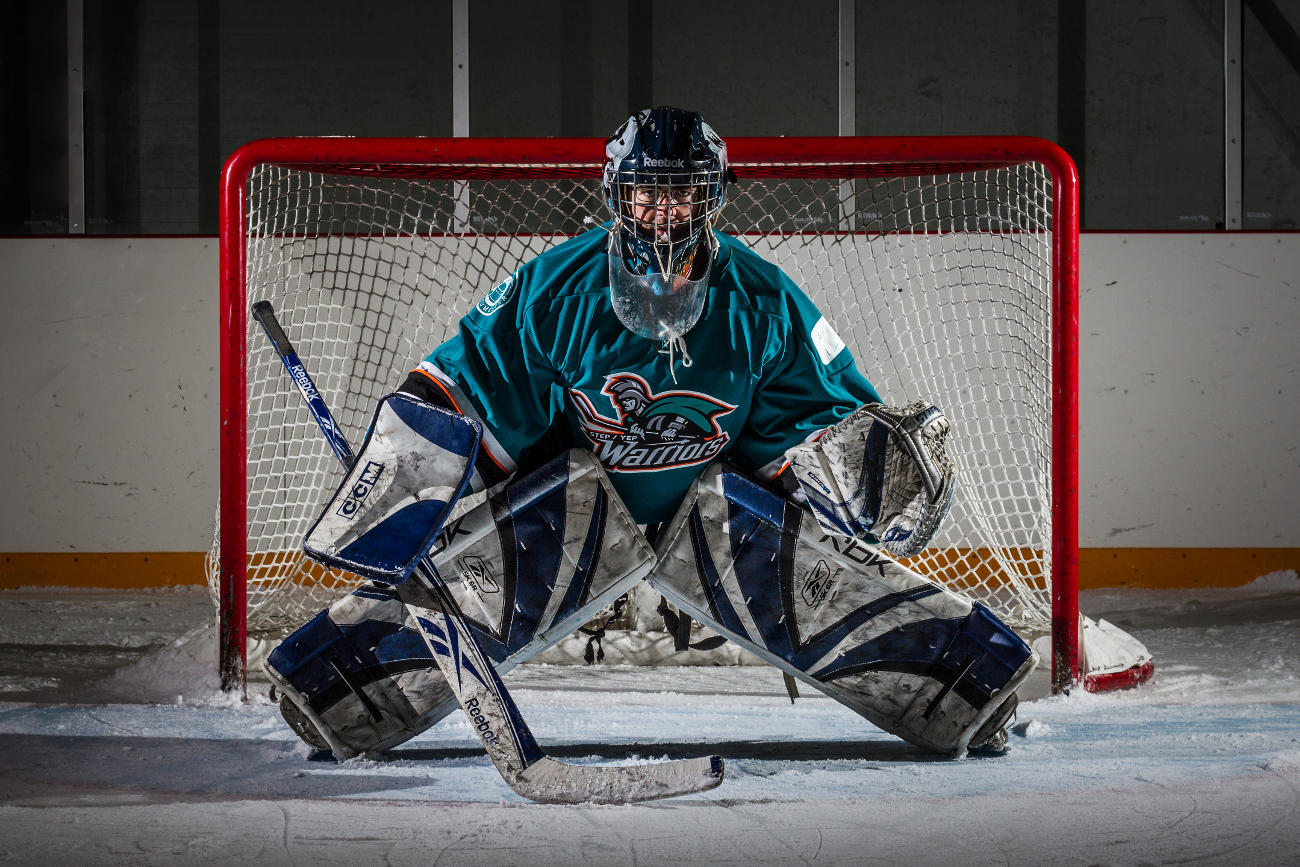
For example, if the picture below had been taken at f8, the player in the foreground and spectators in the background would have been in focus. This would pull attention away from the subject of the image.
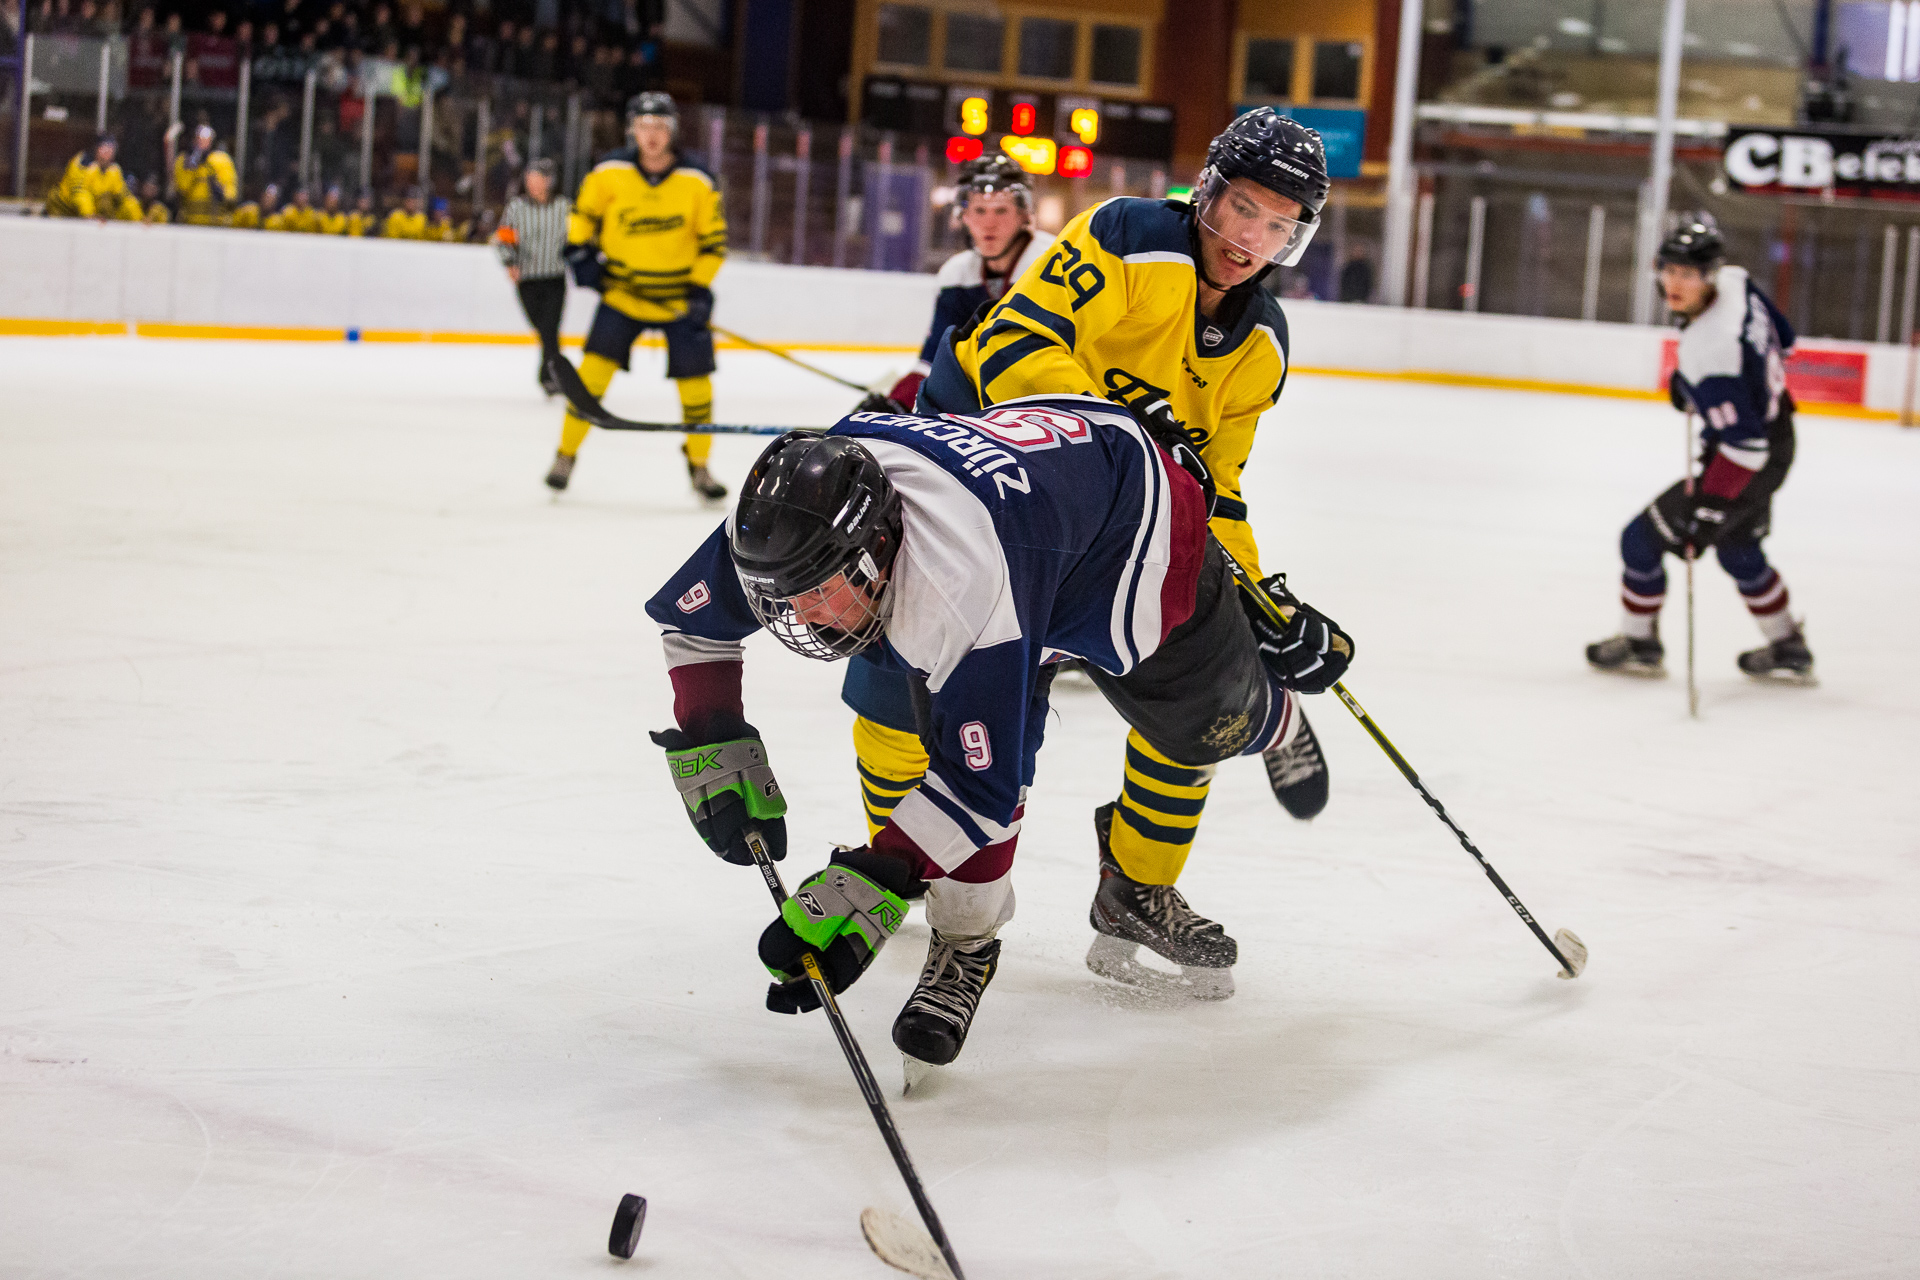
Shooting with a wide aperture allows you to recreate the sense of depth, especially when you have foreground and background features.
Settings: 1/500, f2.8, ISO 1600
Well, that’s your call. If you are up in the stands and want an atmosphere picture showing a large part of the rink and the cheering fans, you’d probably want much of that image to be in focus.
Hitting your Focus
Another tricky issue here is actually hitting your focus.
Hockey is fast and despite all the super advanced technological paraphernalia that runs a camera, it isn’t 100% guaranteed that focusing on a moving player will give you a sharp image.
If you have way too much time on the weekend, try out a fancy online Depth of Field calculator like this one here. Punch in your settings and distance to the subject and it will tell you how much of the image will be in focus.
For example, shooting a subject 10 metres away at f2.8 and 200mm on a Canon 7D gives you a Depth of Field of…
26cm.
So he’s skating in at full speed, winding up for a slap shot while neatly avoiding a hip check and you have 26cm of focus to work with.
Gulp.
When you use a narrower aperture reduces your margin of error. Miss your focus by a bit when shooting at f6.3 and it’s no big deal.
Miss your focus at f2.2 on the other hand, and the player’s face will be unsharp and the picture ends up in the trash.
Learning how to properly nail your focus is such an important part of hockey photography that I’m going to dedicate an entire section to it later on. Patience is a virtue.
So there you have it: your shutter speed is locked in and your aperture is on the money.


About the Author
Hi, my name is Frank Myrland and I'm a photographer based near Orangeville, Ontario. While I am active in most types of photography, I mostly enjoy sports, events, family and commercial photography.
I like to learn by doing — and also to share my own experiences for the benefit of others, whether they are just getting into photography or if they are well on their way to mastering their style and craft.
Feel free to reach out to me if you have any questions at all at [email protected]
The latest posts from the Photography Blog
An Introduction to Hockey Photography
Your Guide to Improving Your Hockey Photography Read more in the Hockey Photography Series: Introduction Aperture Shutter Speed ISO FocusWhat Lens to UseHockey is a fun and fast sport, but it can also be incredibly challenging to photograph. This guide, presented as a...
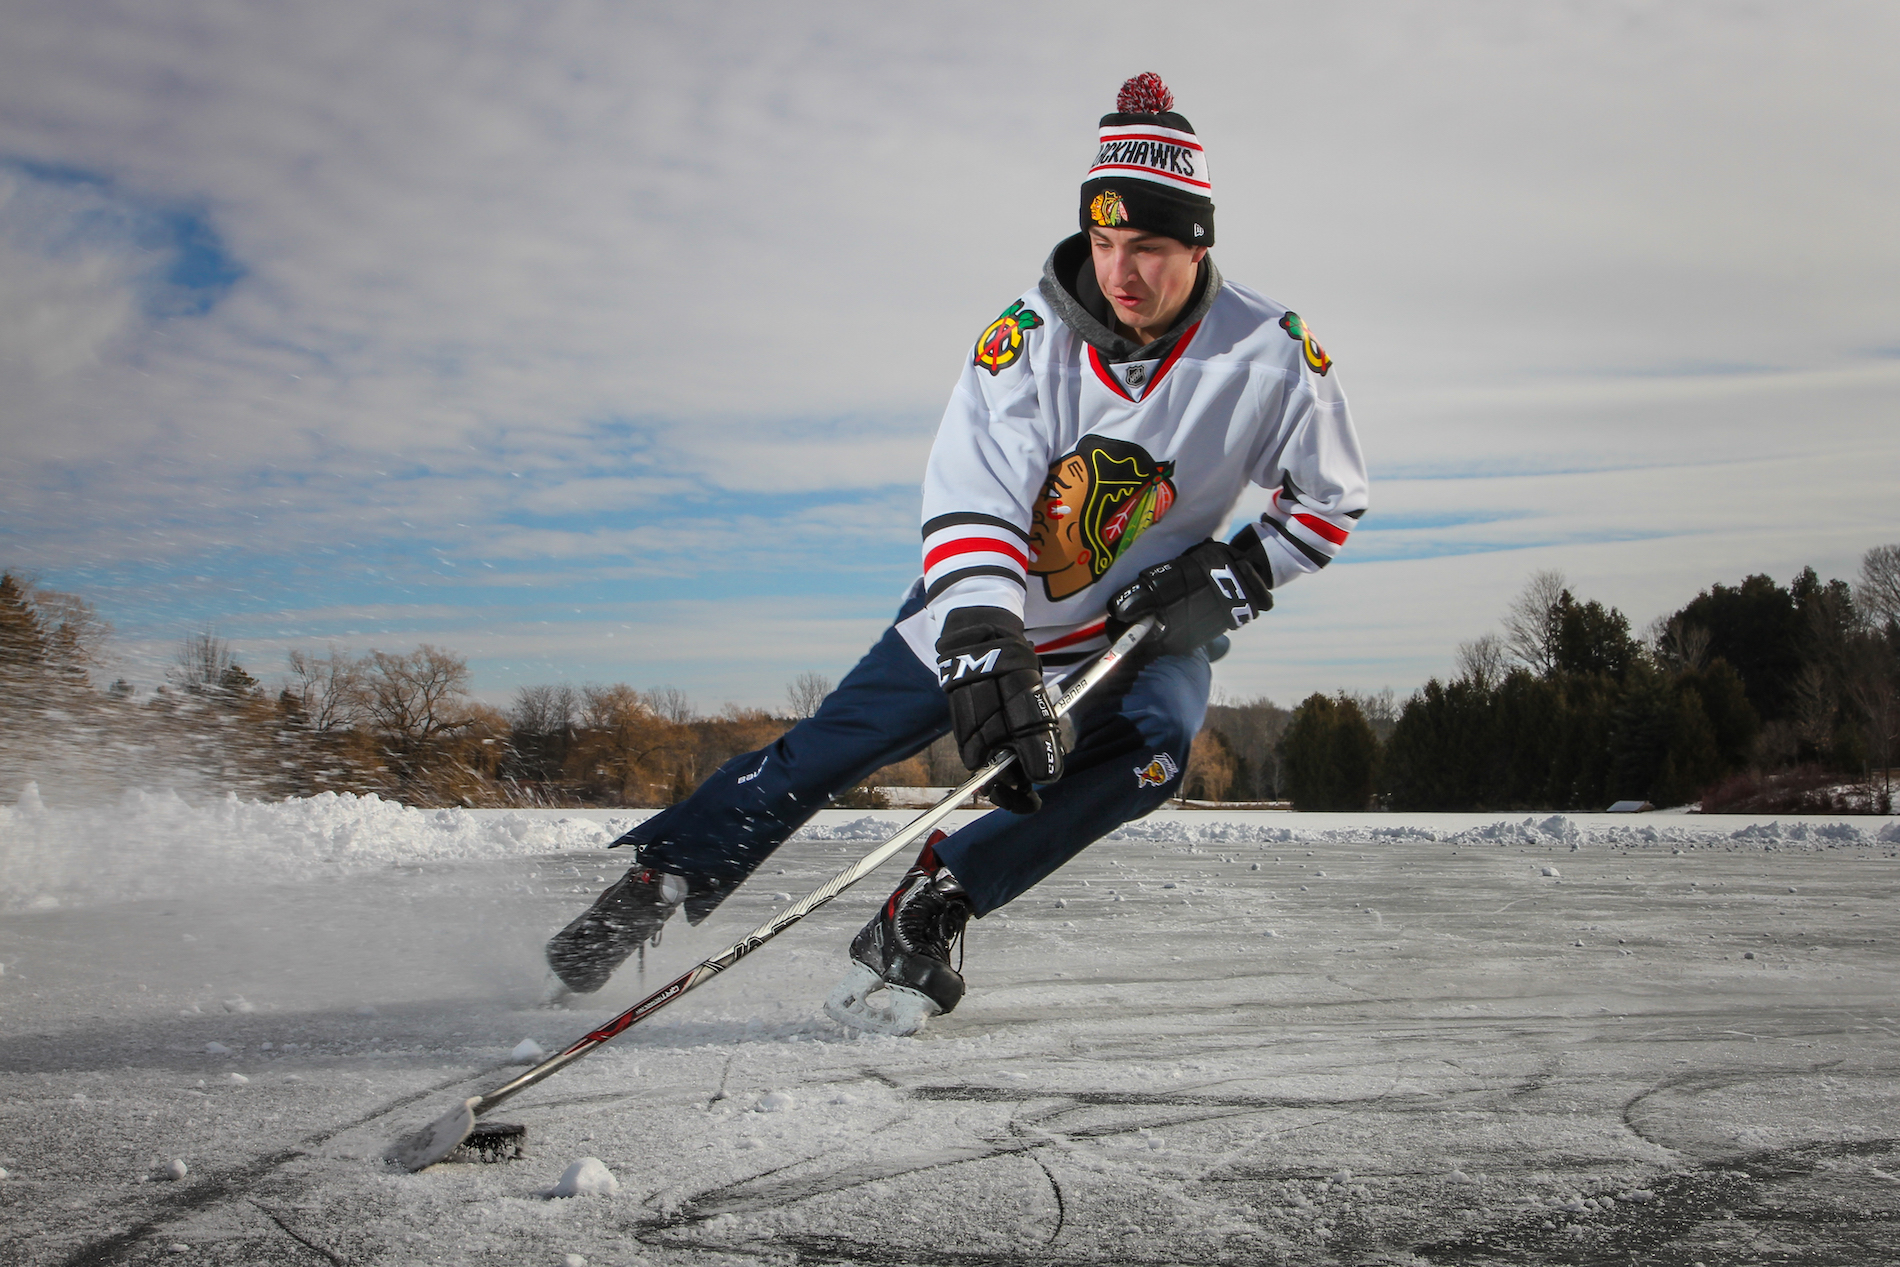
Taking an Outdoor Hockey Picture
Taking an Outdoor Ice Hockey Portrait It’s winter. In Canada. That means hockey. I recently took advantage of a rather fine day recently to get an action shot out on the pond. Here’s a rundown of what went into getting this image. To start with, here's the final shot...

Light Painting a BMW
Light Painting with a BMW Light painting is fun. If you’ve never tried it before, go try it. You won’t regret it. All you need is a tripod, a camera that can take slow shutter pictures and a strong, mobile light source. Even a flashlight works For this shot I used the...
How to Add Depth to your Photos
How to Show Depth in Your PhotosPhotos are viewed in two dimensions. The world, inconveniently enough, tends to come with one more dimension than that. This bothersome little fact can become very problematic for your photography. Where’s the depth? You’ve probably...
Things You Might Not Even Notice That Drive Photographers Crazy: Crooked Horizon Lines
Crooked Horizon Lines Make Your Pictures Worse. When you spend a good percentage of your life staring at pictures, you start to get mildly obsessed about things that other people sometimes can’t even see. Crooked Horizon Lines Go outside and take a look at the...
How to take a Dramatic Hockey Portrait
How to take a dramatic hockey portraitRead more in the Hockey Photography Series:It’s not every day you get to play with flashes at a hockey rink. So, here's how to make the most of it.Hockey is fantastic, but taking great photos of hockey can be a nightmare. Combine...